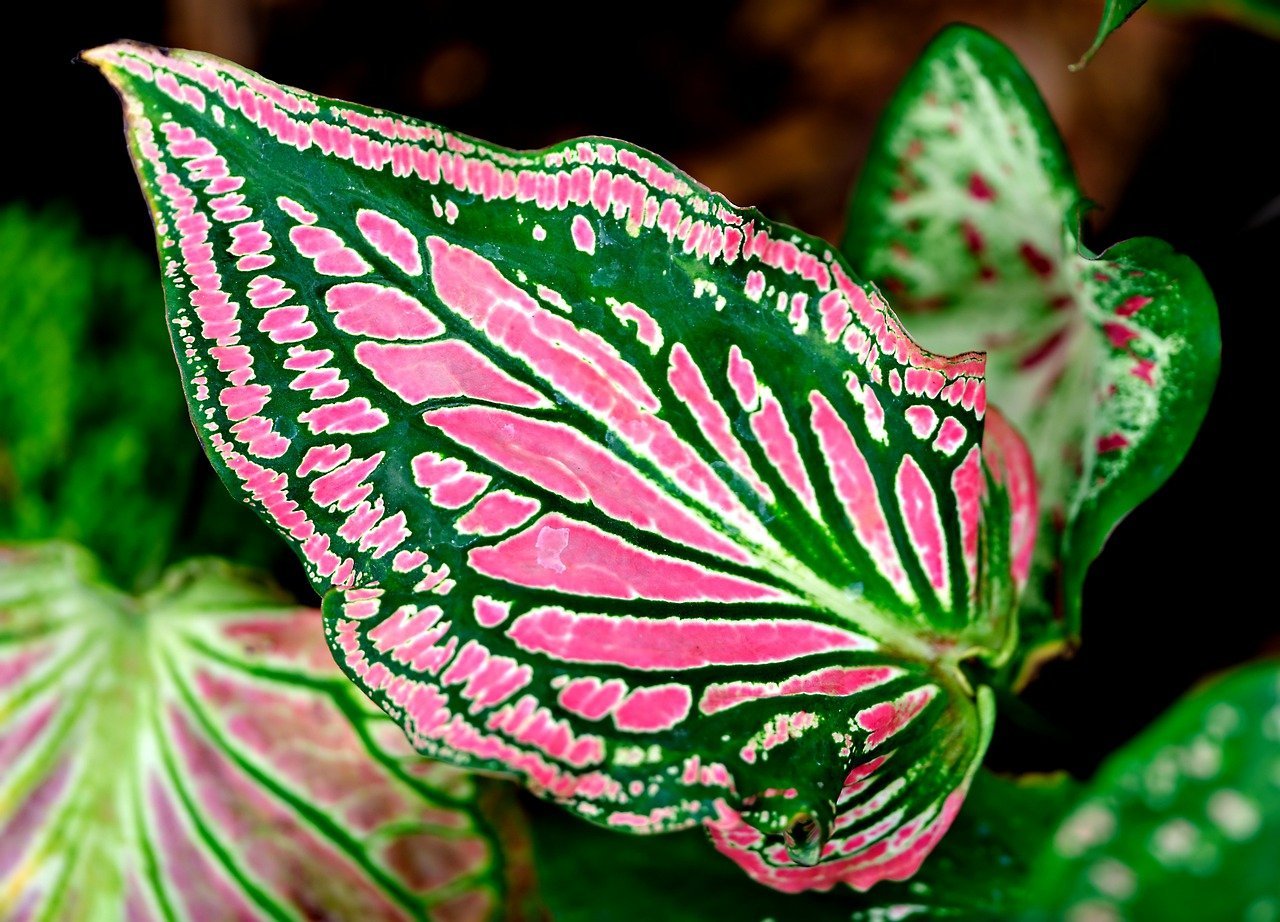
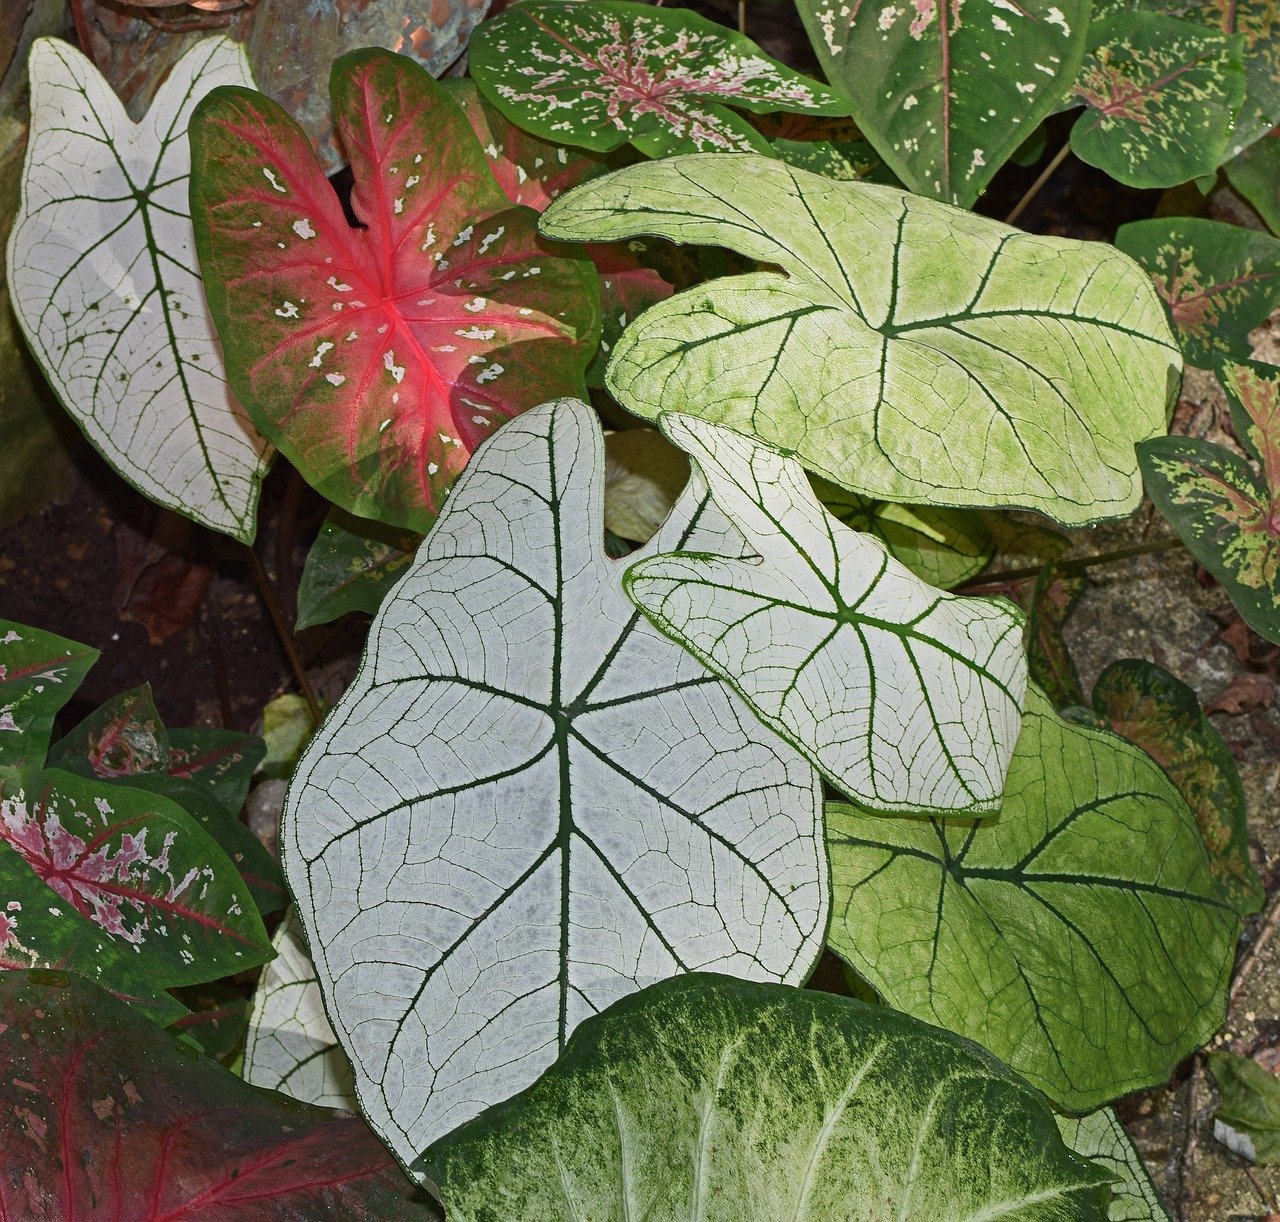
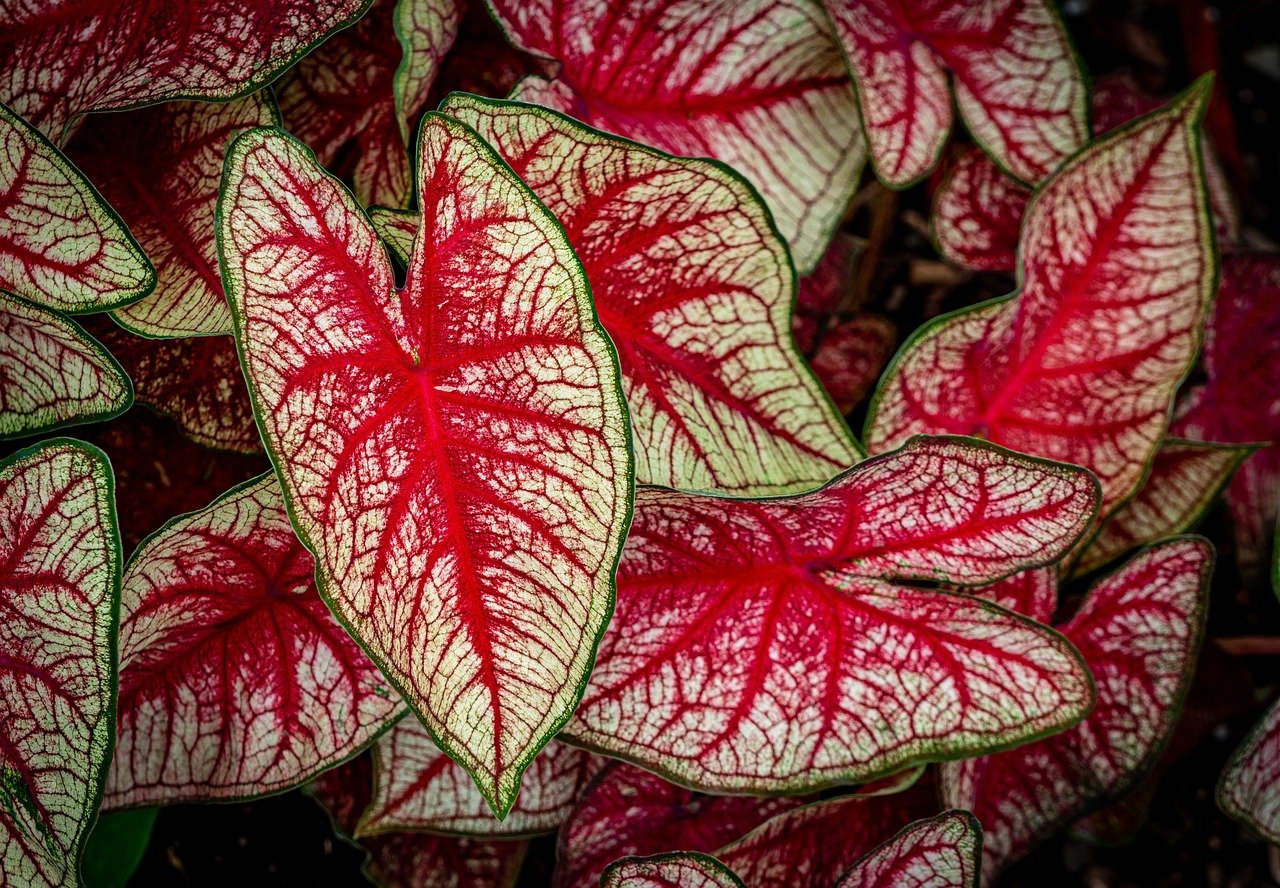
Caladium (pronounced ka-LAY-dee-um) is a genus of tubers grown for their colorful summer foliage. Heart-shaped leaves grow up to 15 inches long and 10 inches wide, in freckled or streaked shades of pink, white, rose, red, green, burgundy, and occasionally yellow.
Plants are perennial in zones 9 and warmer. Some gardeners opt to grow them as annuals. They look fabulous in shady beds or hanging baskets. They can also be grown as houseplants by those who enjoy a challenge. Caladiums prefer moist, acidic soil that is high in organic matter. They prefer shade or partial shade, and pair well with Begonia and Impatiens. Mature height is less than two feet, so situate them where they will not be blocked by taller plants.
Caladiums enjoy the same water needs as Hostas and ferns. Like Hosta, they are targets for damage by snails and slugs. Placing them in the same bed as Hostas makes it easier to restrict chemical use to a limited area. My favorite products to eliminate snails are Sluggo or Escar-Go. Both are iron phosphate products that are non-toxic to humans, pets, and fish. I’ve read mixed reviews on whether it is harmful to earthworms. If you want to check out this type of molluscicide (fancy word for slug-killer), be sure to append your search with “site:.edu” so that your results will be ONLY university-based research articles and not product advertisements or non-science based opinions.
Caladiums enjoy a fertile soil, but excess fertilizer will cause the new leaves to trend toward green instead of colorful variegations. Use a time-release fertilizer or monthly application of diluted liquid plant food.
Tubers, an irregular shape, are available in garden centers in early spring. Full size, pot-grown specimens are sold a few weeks later. Larger bulbs produce larger plants.
Caladiums refuse to grow until the soil has warmed to at least 70 degrees, so there is no point in planting them before May. Earlier planting may result in rot. The foliage makes a remarkably long-lasting addition to the cut-flower arrangement. While Caladiums do bloom occasionally, their flowers are barely noticeable. Remove the flowers (spadix) if desired to direct more energy to leaf growth.
The mostly-white types look smashing when paired with white Impatiens. Some of the most popular varieties are ‘Freida Hemple’ and ‘Fanny Munson.’ Others, ‘Rosebud,’ ‘Red Chief’ and ‘White Queen’ will tolerate more sun (3-4 hours) than most. Some cultivars feature a “strap leaf” form with narrower leaves or ruffled edges. If Caladium leaves begin to twist, it is a sign they are not happy with their location – either too much or too little water, or too much sun.
If you choose to store your tubers from year to year, prepare to lift them in autumn. When cool weather approaches, withhold water for a few days to help them enter a dormancy period. Lift the tubers before they are touched by frost. Allow them to dry a few days out of direct sun, brush off excess soil, then store them in peat moss or vermiculite until next year. It is difficult to determine which way is “up” with the dried tubers. The smooth side is the bottom. Plants will still sprout if planted upside down, but position them vertically (edge up) to play it safe.
While many bulbs need a period of cool weather to rest, Caladium is an exception. The tubers’ storage temperature should never drop below 50 degrees, or they may not recover. For most of us, this means keeping them inside the house rather than in an unheated garage or garden shed. Just don’t forget where you put them (a sad personal experience).
All part of Caladium are toxic to humans and pets if eaten. The sap causes a rash for sensitive-skinned gardeners, so use caution if leaves are gathered for flower arrangements.
Additional cultural tidbit from our friends at Clemson Extension Home & Garden Information Center: “Each caladium tuber has a large central bud surrounded by several small buds. Most caladium varieties produce only a few colorful leaves when the prominent central bud is allowed to grow. Remove the central bud to allow the tuber to produce many more shoots and leaves. Use the tip of a sharp knife to lift out the large central bud, being careful not to injure any of the surrounding small buds.” (HGIC Factsheet 1160.)