Summers during my childhood involved blackberry-picking. We did not have plants at our own home, so the activity involved packing up the family car and driving “to the country” where no one cared if you harvested from the roadside brambles. There was little competition from other pickers, because July in South Carolina is hot and humid and buggy. The trip home usually included lots of scratching from chigger bites, stained fingers, bloody gouges from thorns, and a short-tempered mother. It all seemed worthwhile when we ate the blackberry jam Mom made, especially when it was served atop split, buttered biscuits.
As an adult, I discovered that domestic blackberries bought at the grocery store did not compare in flavor to the wild berries of my childhood, and many of them had large seeds that reduced my enjoyment. So, every June or July, I donned the sunhat, long sleeves and trousers held tight with rubber bands around the cuffs as a chigger blockade, and harvested my own wild blackberries from the open woodlands near our house. Soon, my husband made it an annual task to locate these patches of deliciouness while the plants were in bloom. He would use his tractor and bushhog an open path around each patch. With the underbrush mowed down, I was able to ride right up to the plants and harvest without even getting off my 4-wheeler. Bliss.
When we moved to our current home, I thought my blackberry harvesting days were past, but then I discovered long rows of wild berries on either side of an undeveloped road nearby. The harvest was on again. It wasn’t convenient, but I was able to bag several gallons every year to freeze so that I could prepare cobblers as a special winter treat. For those of you who are unfamiliar with the term, a cobbler is a baked dessert of sweetened fruit topped with a sweet bread-like crust. The topping is always uneven, like cobblestones, hence the name cobbler instead of pie or dessert casserole. Wild fruit is quite tart, so lots of sugar is mandatory in cobbler-making.
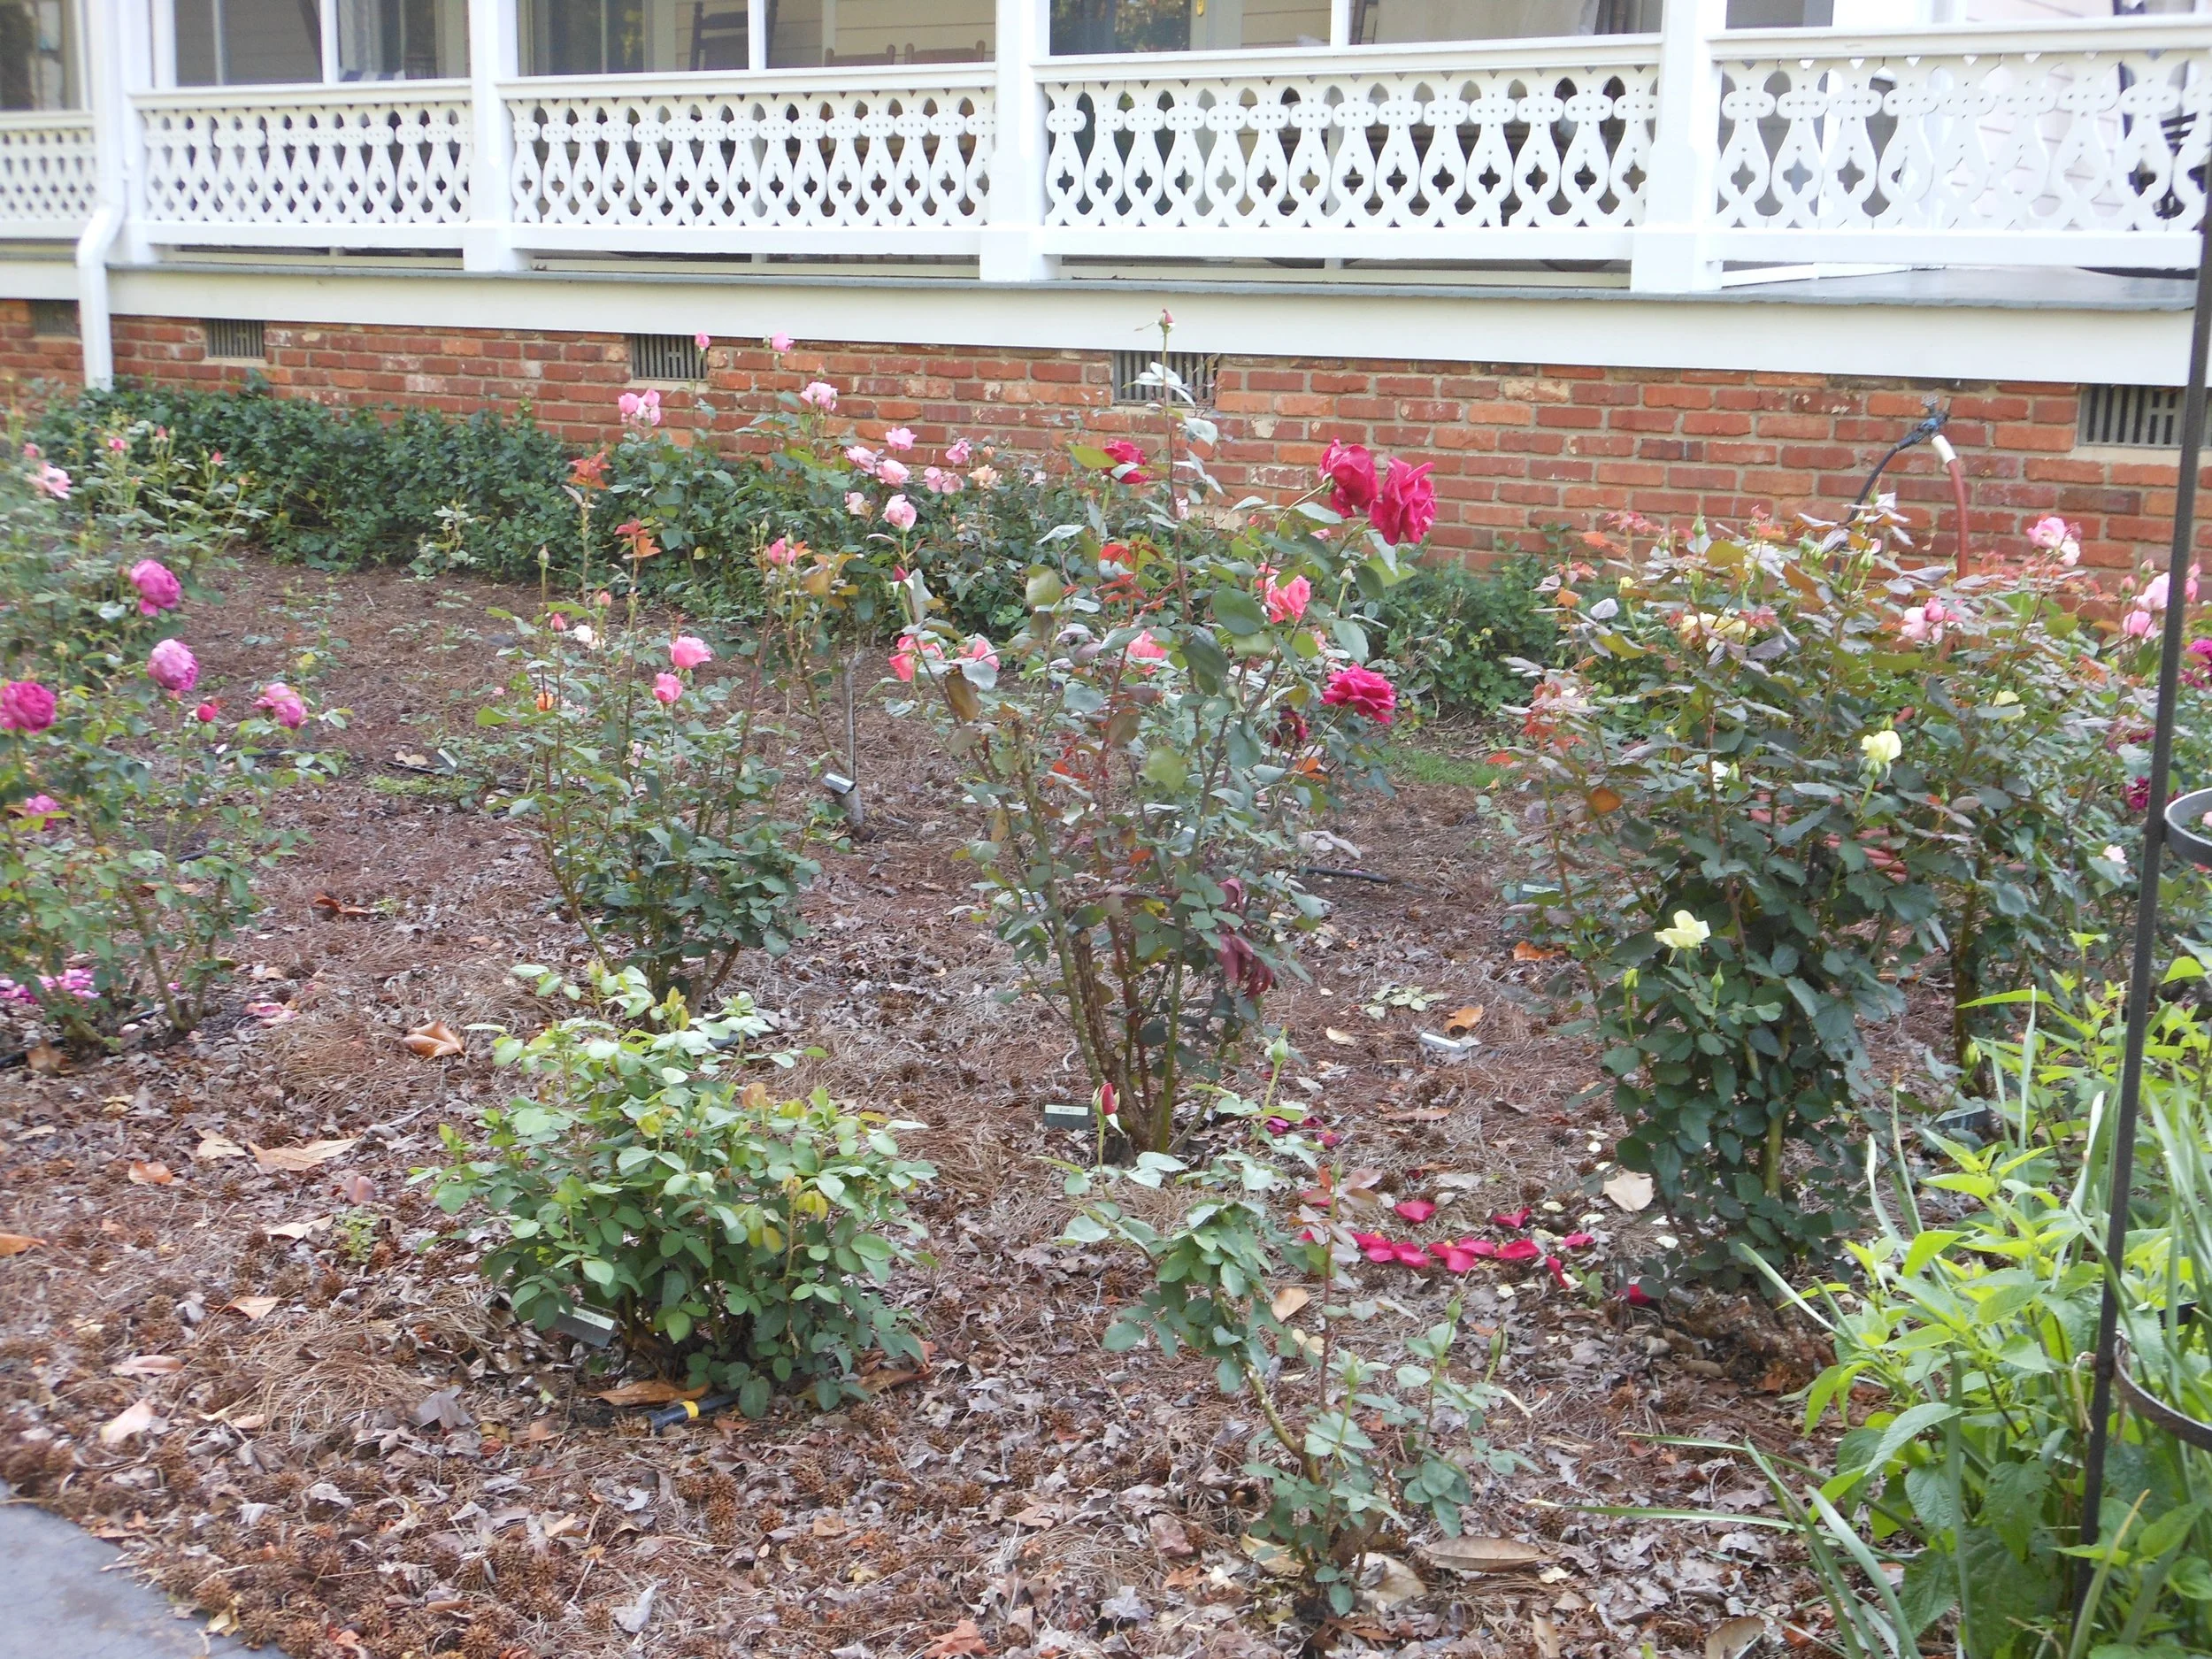
I had not planned to include blackberries (Rubus fruticosus) in my home orchard, but I ran across plants that had been marked for clearance at a local big box store. The variety was ‘Ebony King’ which made me envision large berries. The label said “semi-thornless,” which sealed the deal. A dozen or so plants went home with me. In my orchard, I hammered in T-posts and ran trellising wire between the posts so that I could secure the arching branches to an almost flat plane, making the picking easier.
Let me say, the person who wrote “semi-thornless” for the labels has a far different definition than I do. The canes were covered in thorns. By year two, though, I was picking a fair harvest which almost justified the bloodshed.
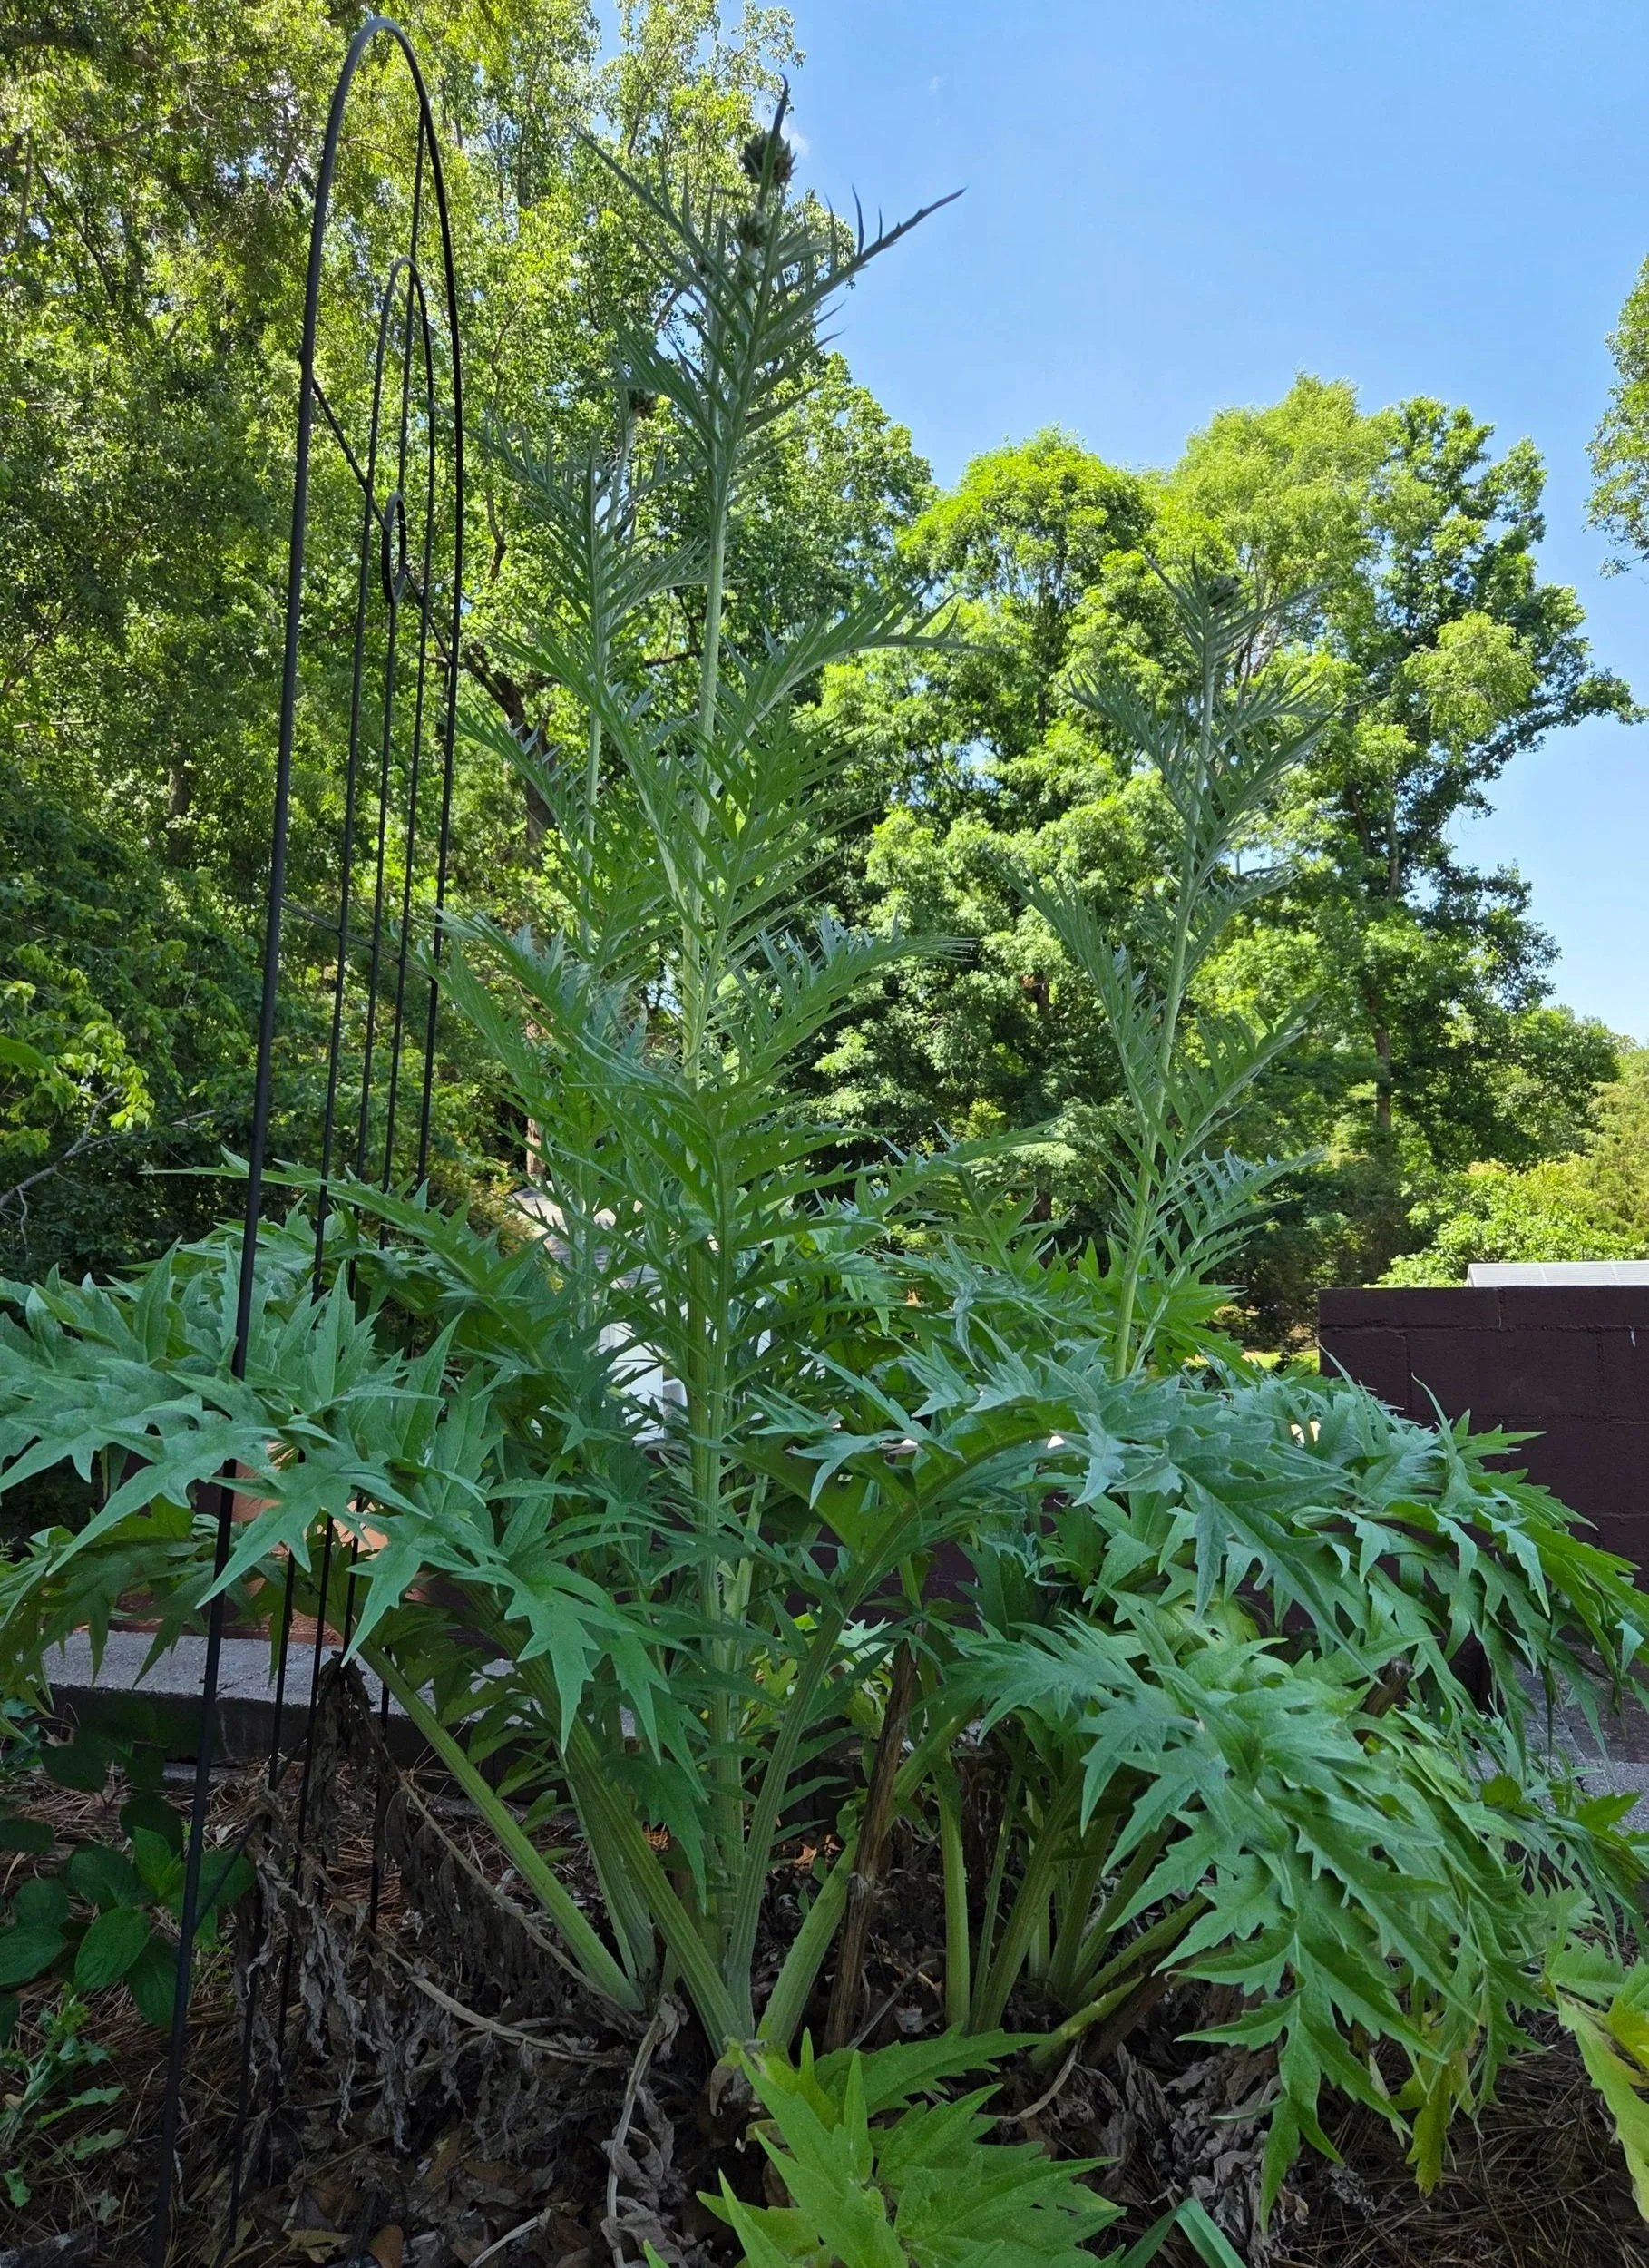
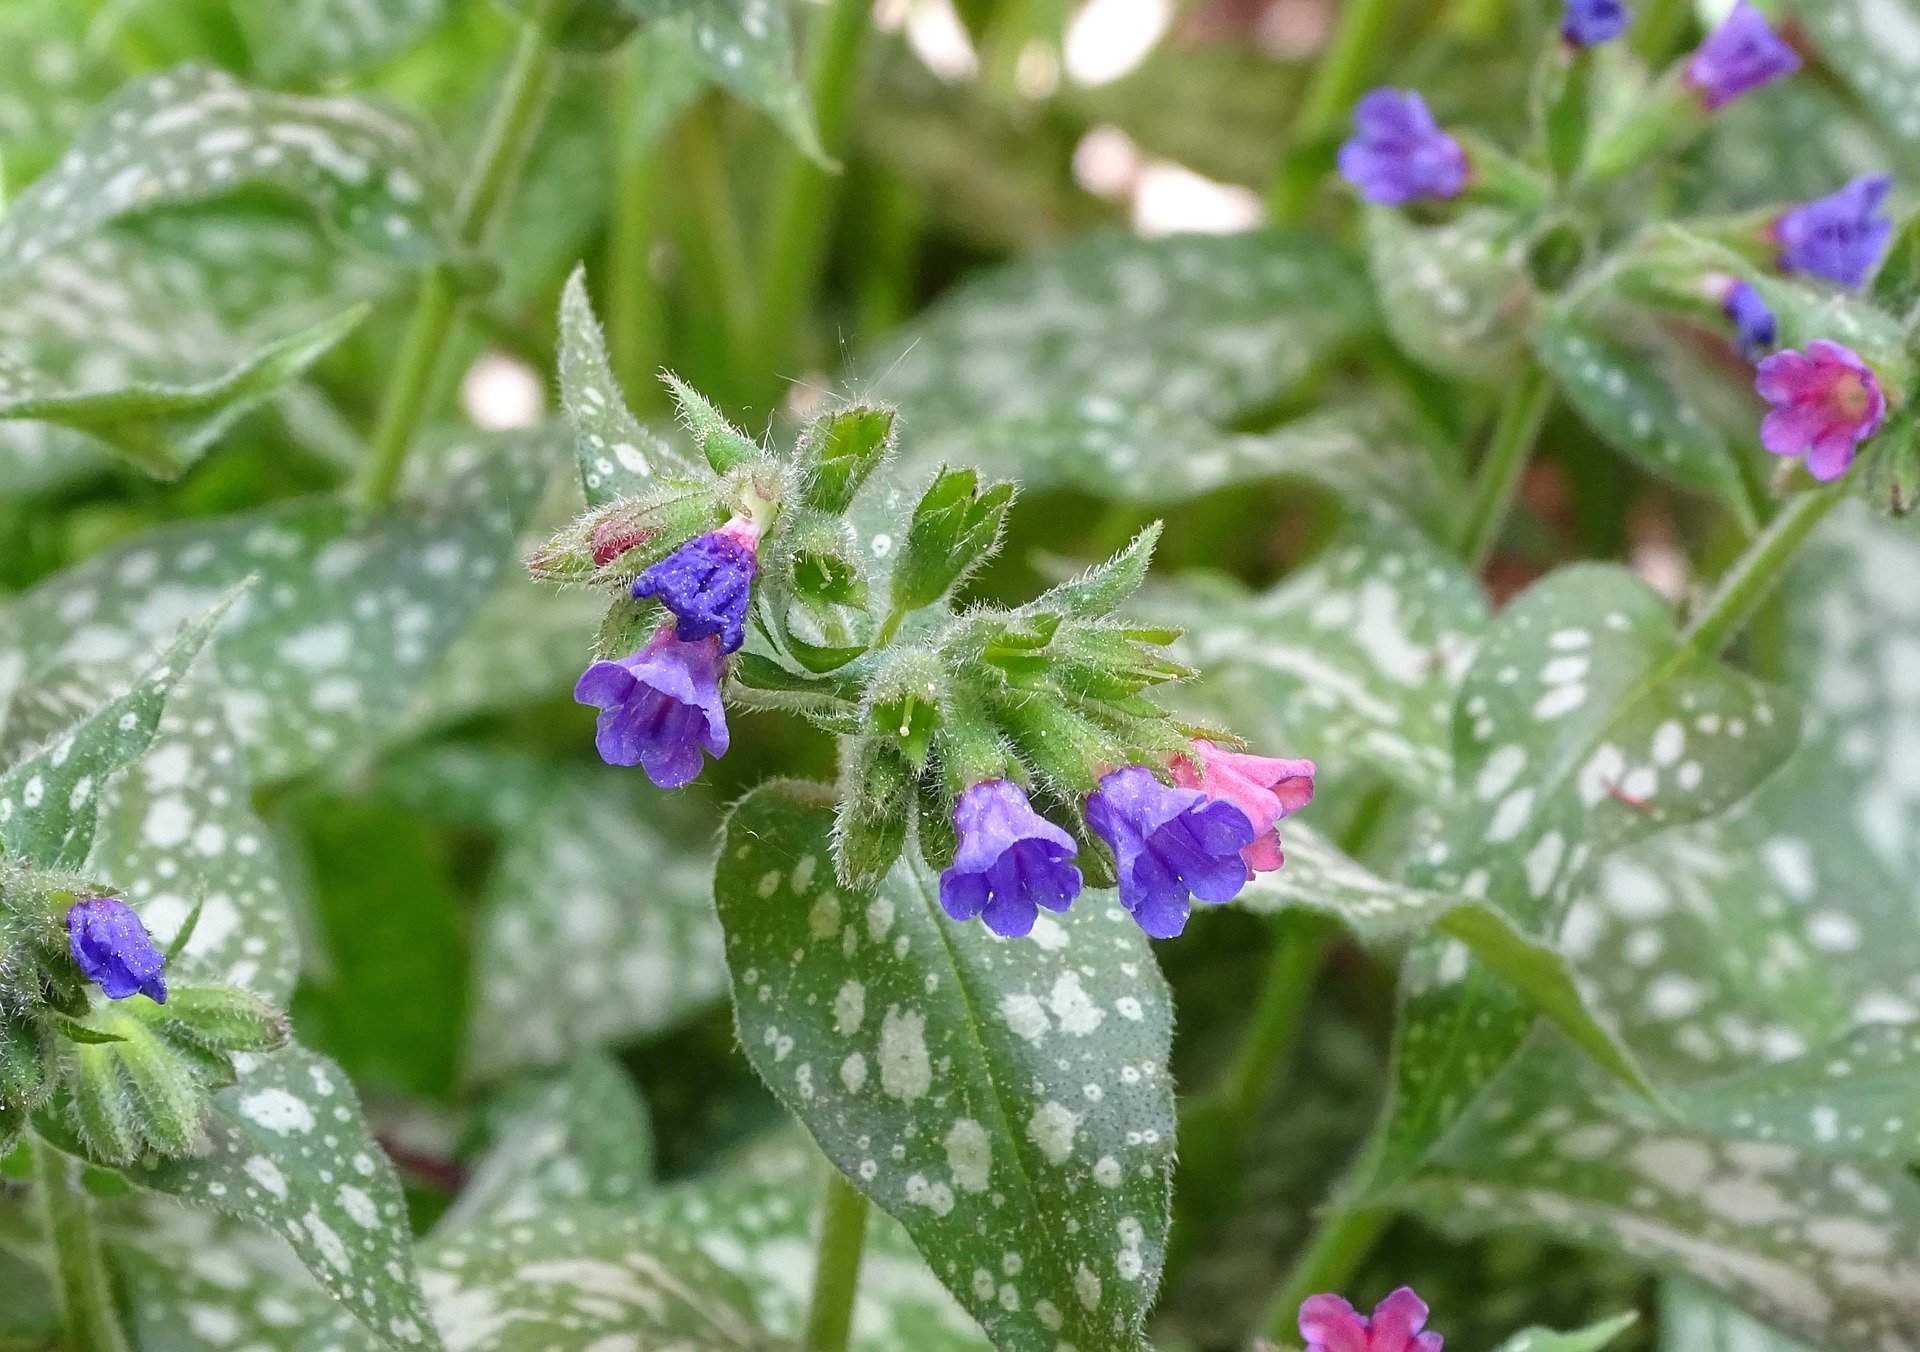
One important thing to know is that blackberries have two types of branches, also called canes. During their first year, these branches are called primocanes. Their purpose is to nourish the plant. Second year canes are called floricanes. The floricanes flower and bear fruit. Once a floricane has finished producing its fruit, it will either die or hang around to create a misery-making thicket. Once the harvest is past, floricanes should be removed at ground level to encourage new growth. The primocanes of the current year will be the fruit-bearing floricanes of the following year. [I should note here that some new varieties will bear on first year canes.]
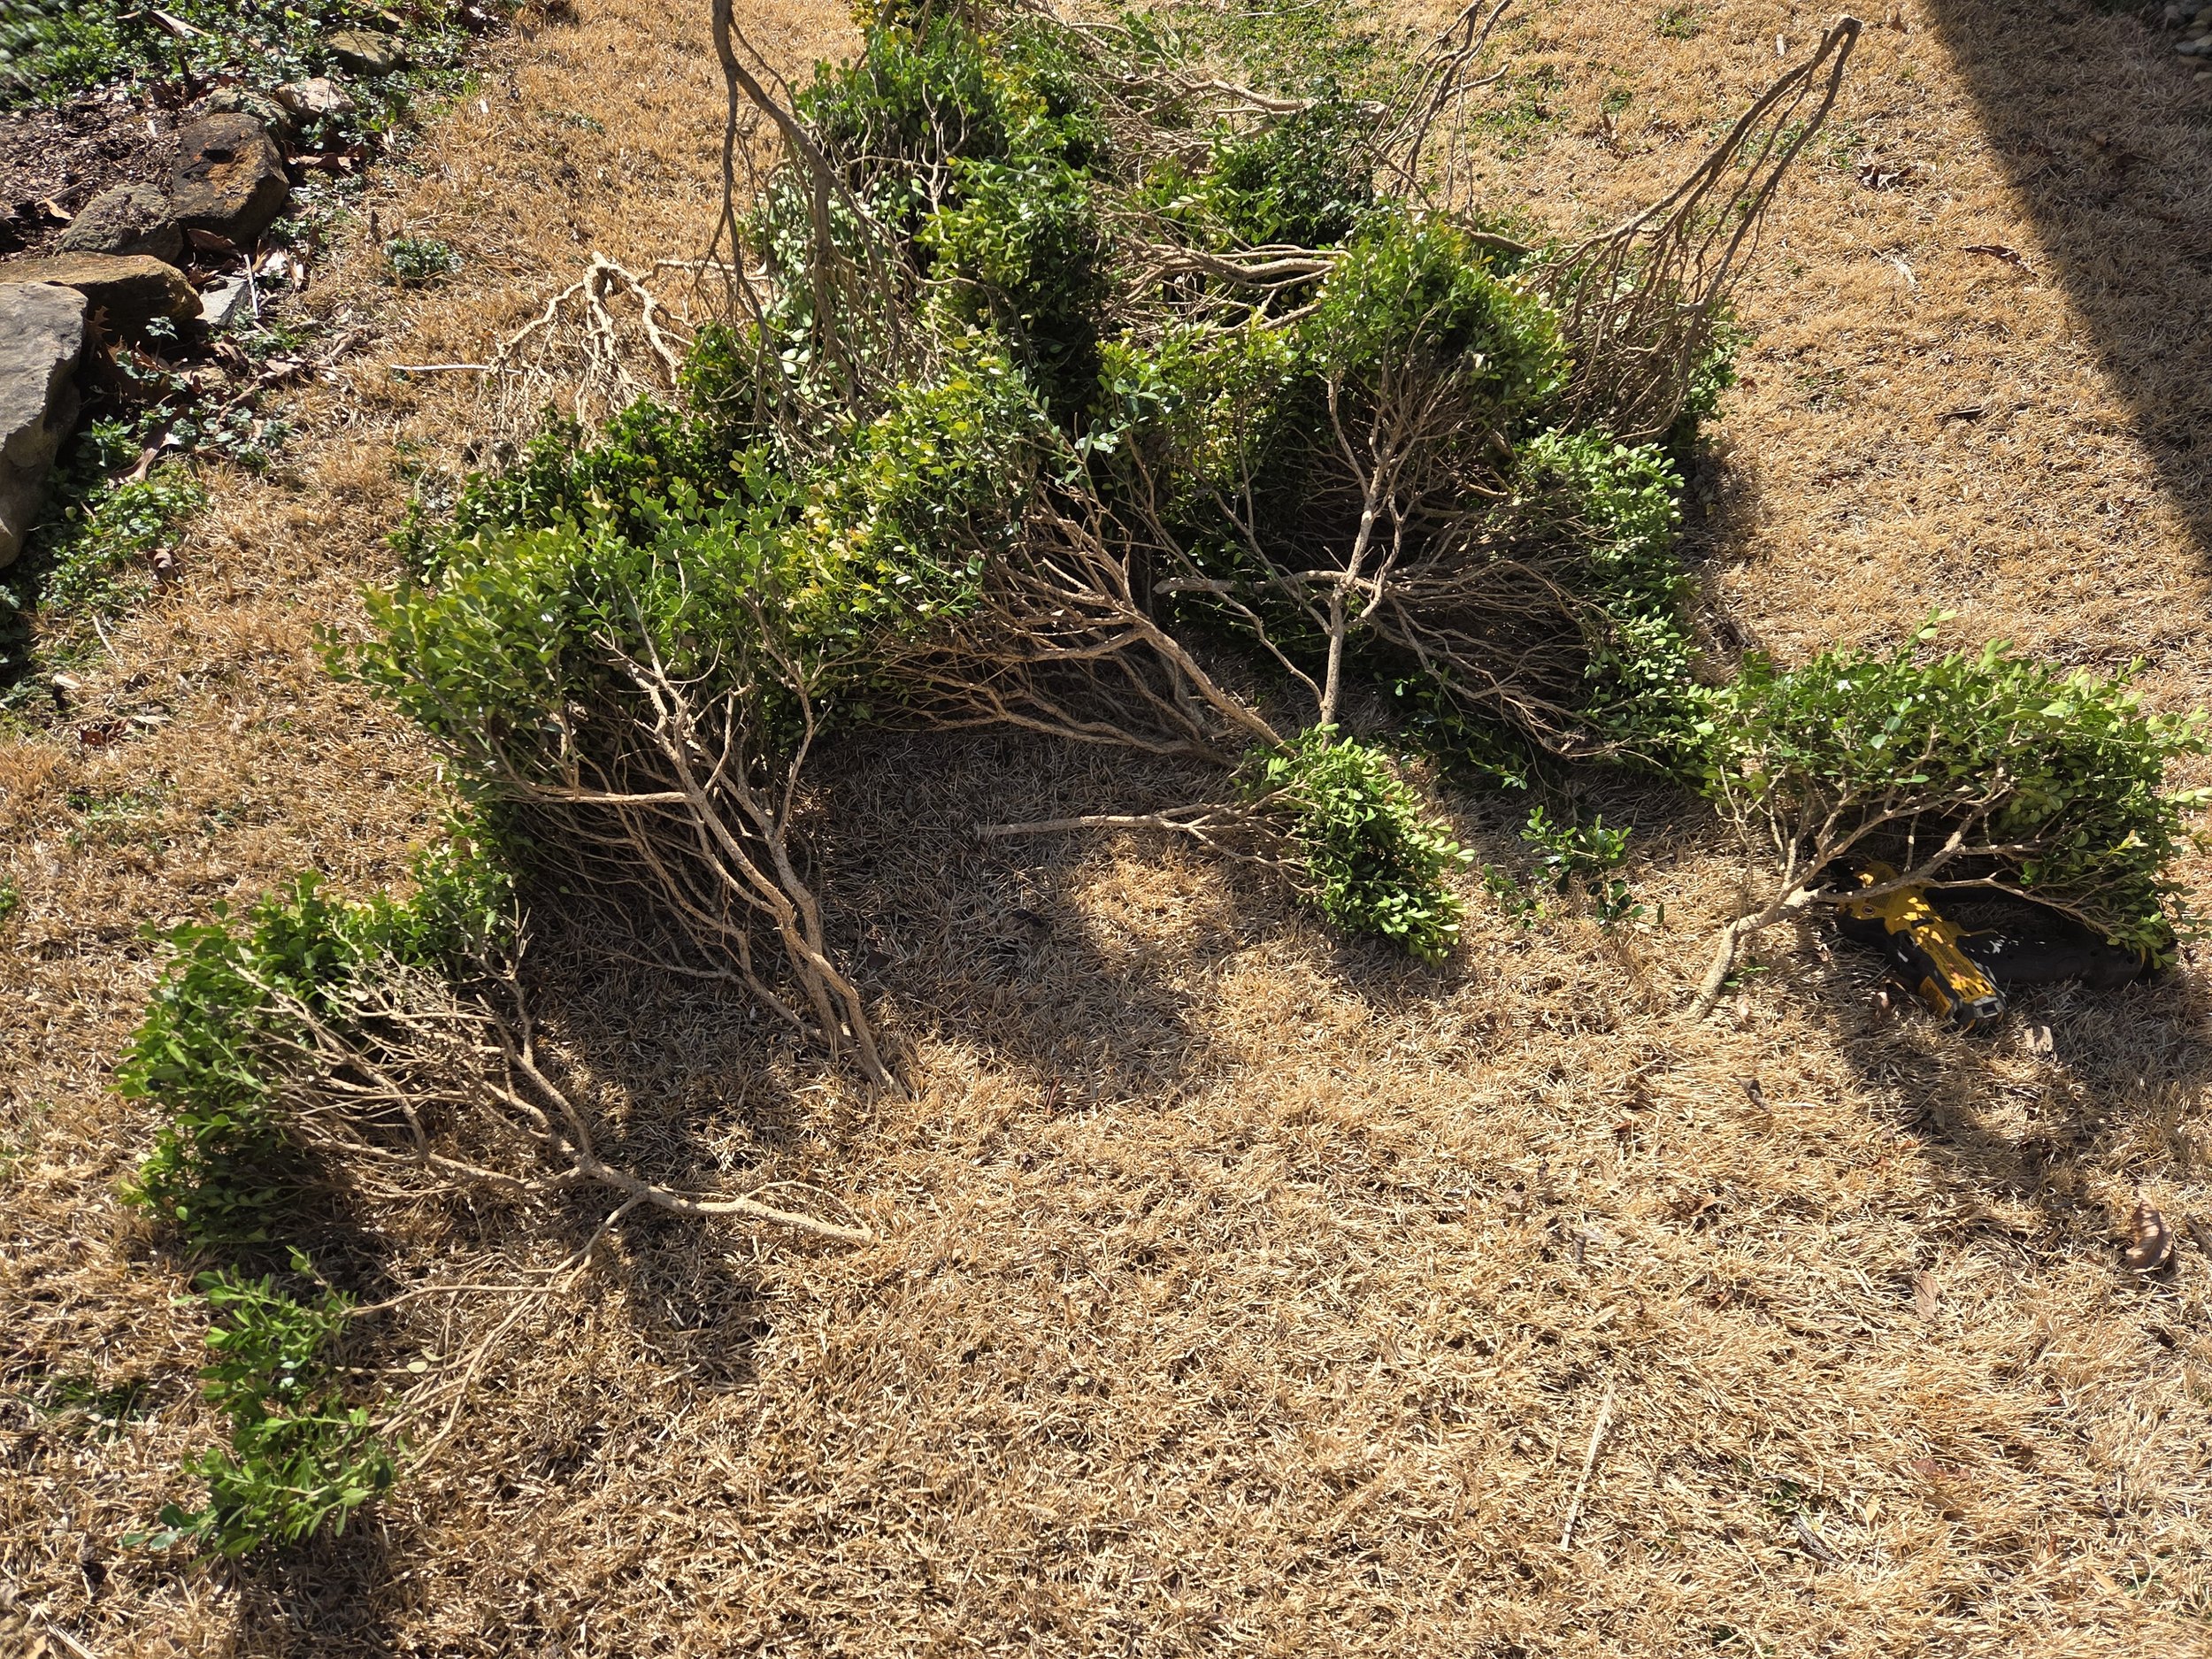
Two years ago, I neglected to remove the floricanes after the harvest. As a result, last year I had a mess – dead canes and young canes intermingled with the fruit-bearing canes to make harvesting a misery. There was only one thing to do – remove all canes, down to ground level, and let the plants regenerate. This year, all my canes are primocanes, so I will not have fruit. Next year, they will produce flowers and new primocanes will join the party. I promised myself that I will be diligent with removal, to avoid the horrible weedy mess that my own negligence created.
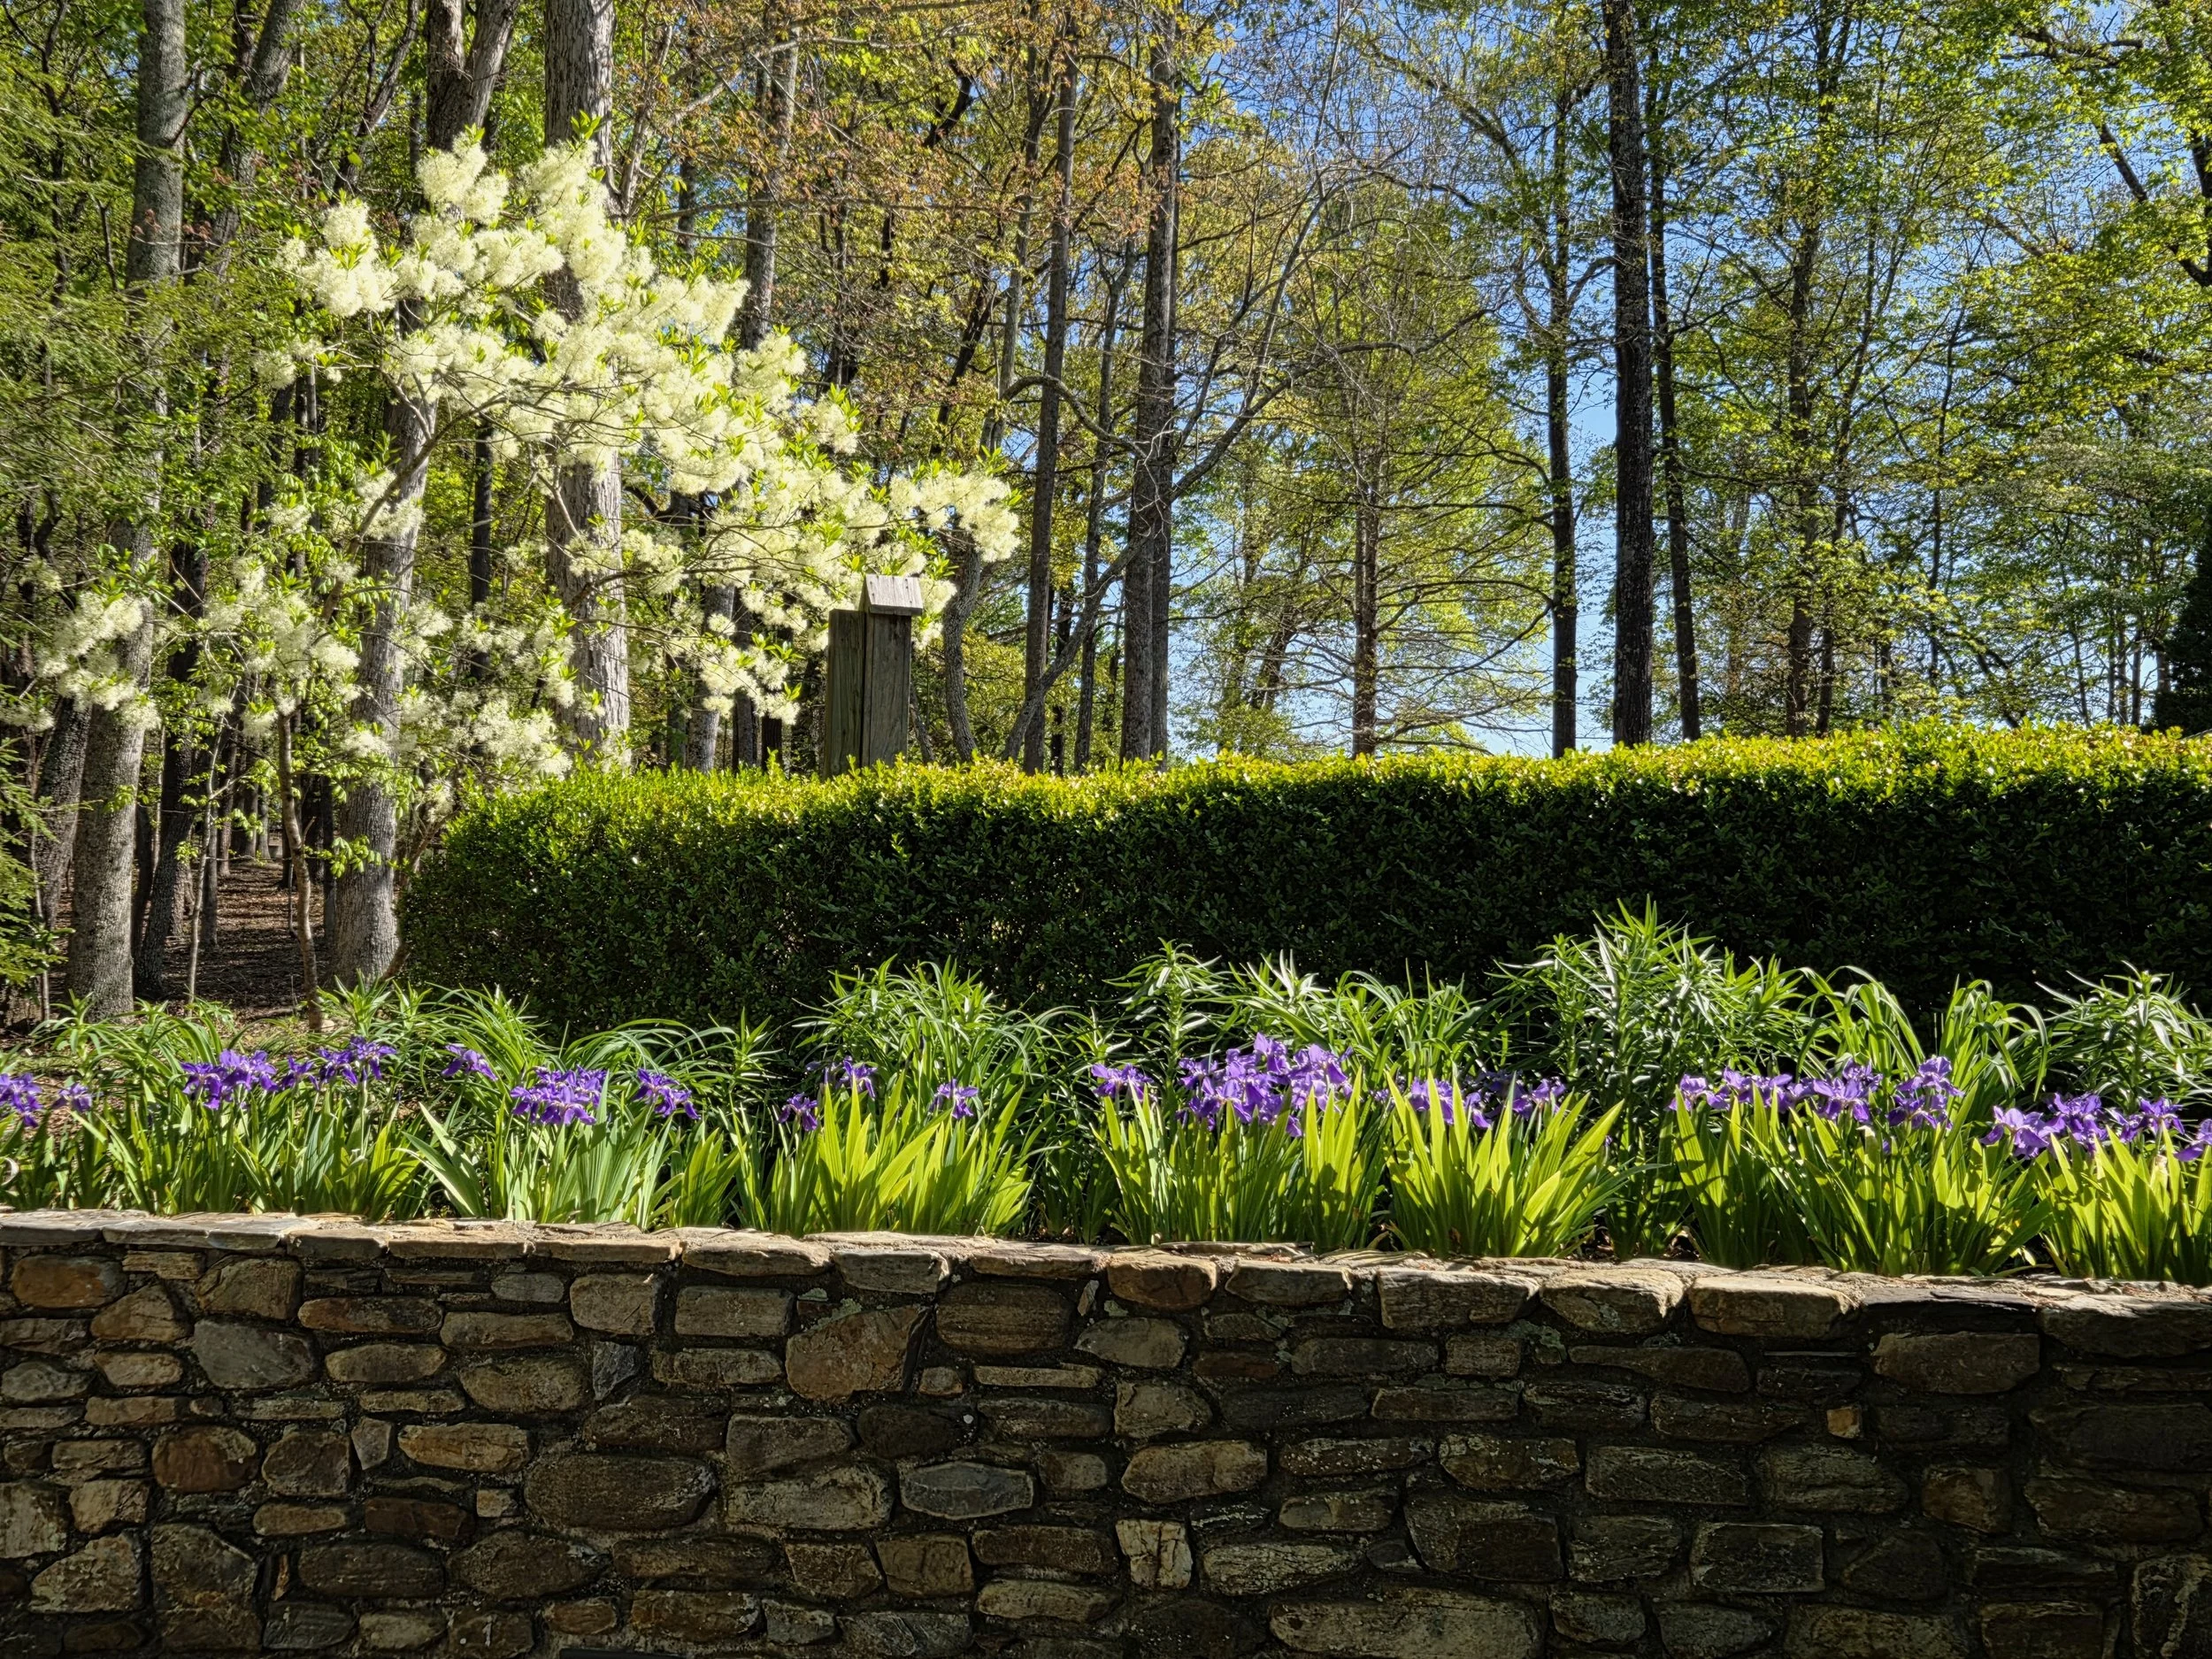
We discovered a few wild berry plants on our current property. My husband created a mowed path to them this week, so I will be able to harvest a small crop to tide me over until next year. I feel fortunate that we located these, because those long rows of wild berries along the undeveloped road are now gone, removed by large grading equipment as a new subdivision is under construction. The newcomers won’t know what they are missing.
If you decide to try blackberries in your own garden, be sure to plant them in full sun. They want rich soil of pH 6.0 to 6.5, and are considered heavy feeders, which means applications of fertilizer in early spring and again after harvest, at the rates and amounts recommended by a soil test. Consistent irrigation will ensure plump, tasty berries. Here is a hint for detecting ideal ripeness: a perfect berry is slightly dull, not glossy.

These blackberries are on the edge of glossy-turning-dull, so harvest will wait another day or two to allow them to reach peak flavor.

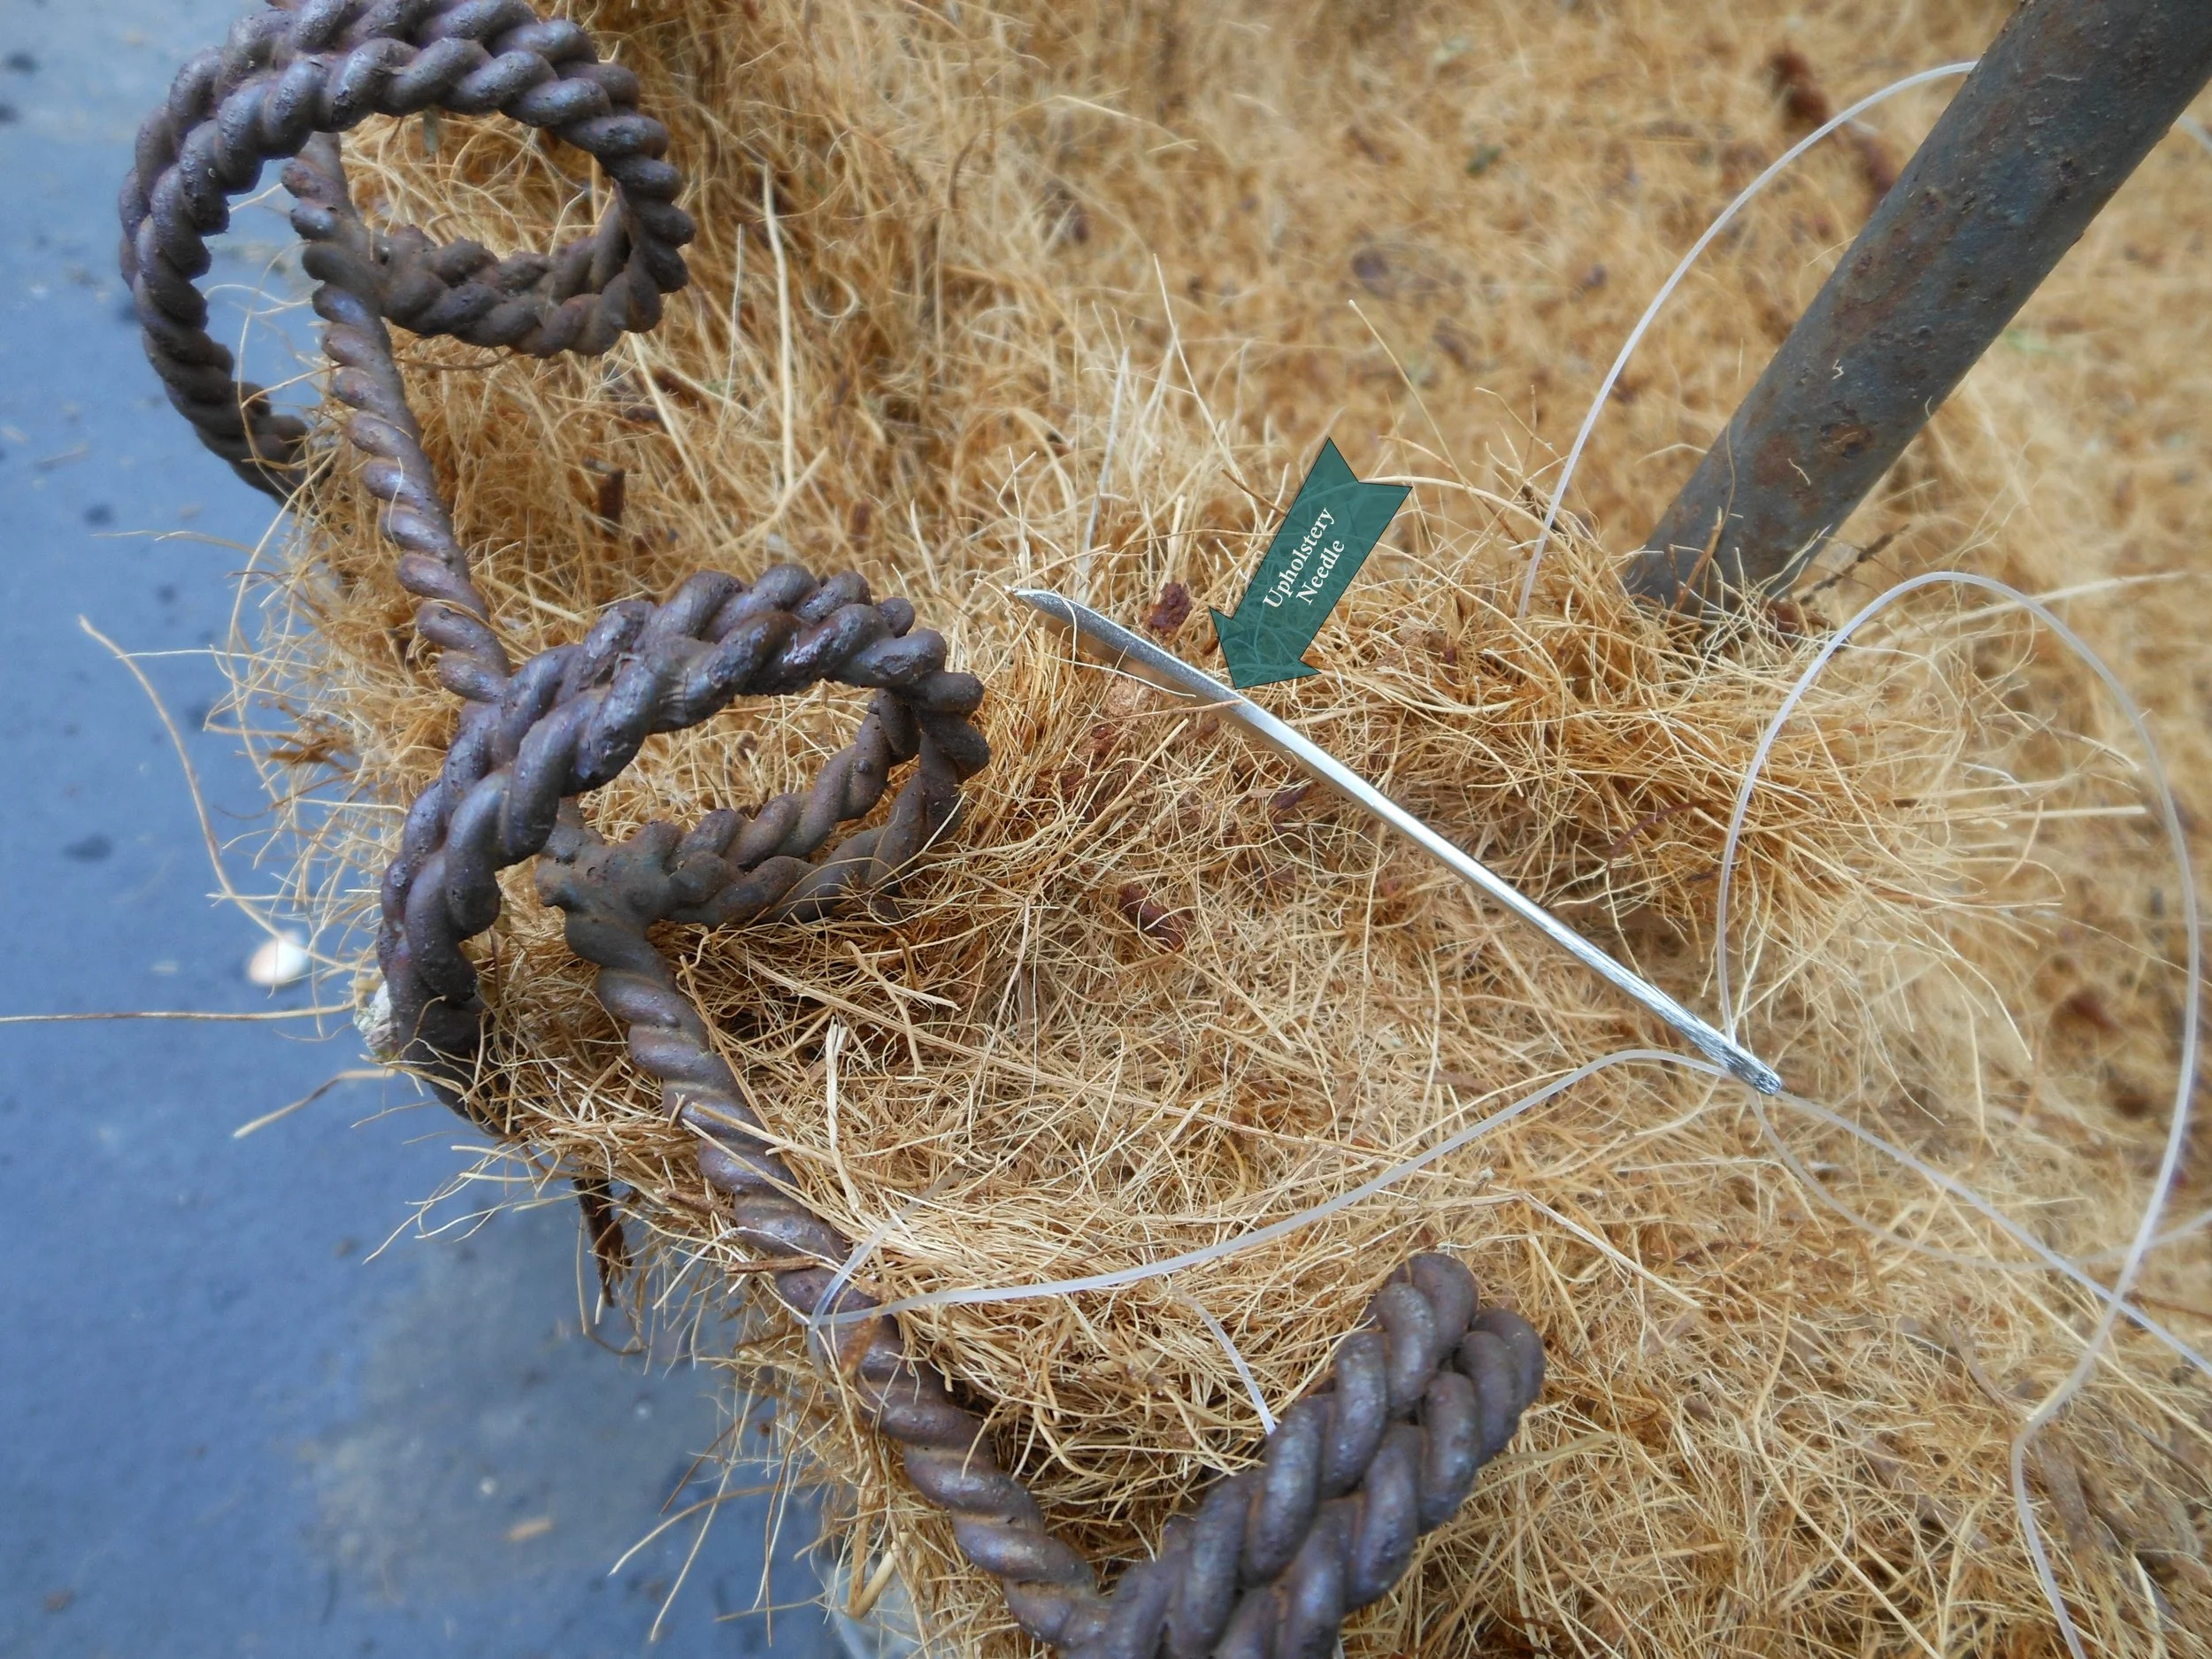
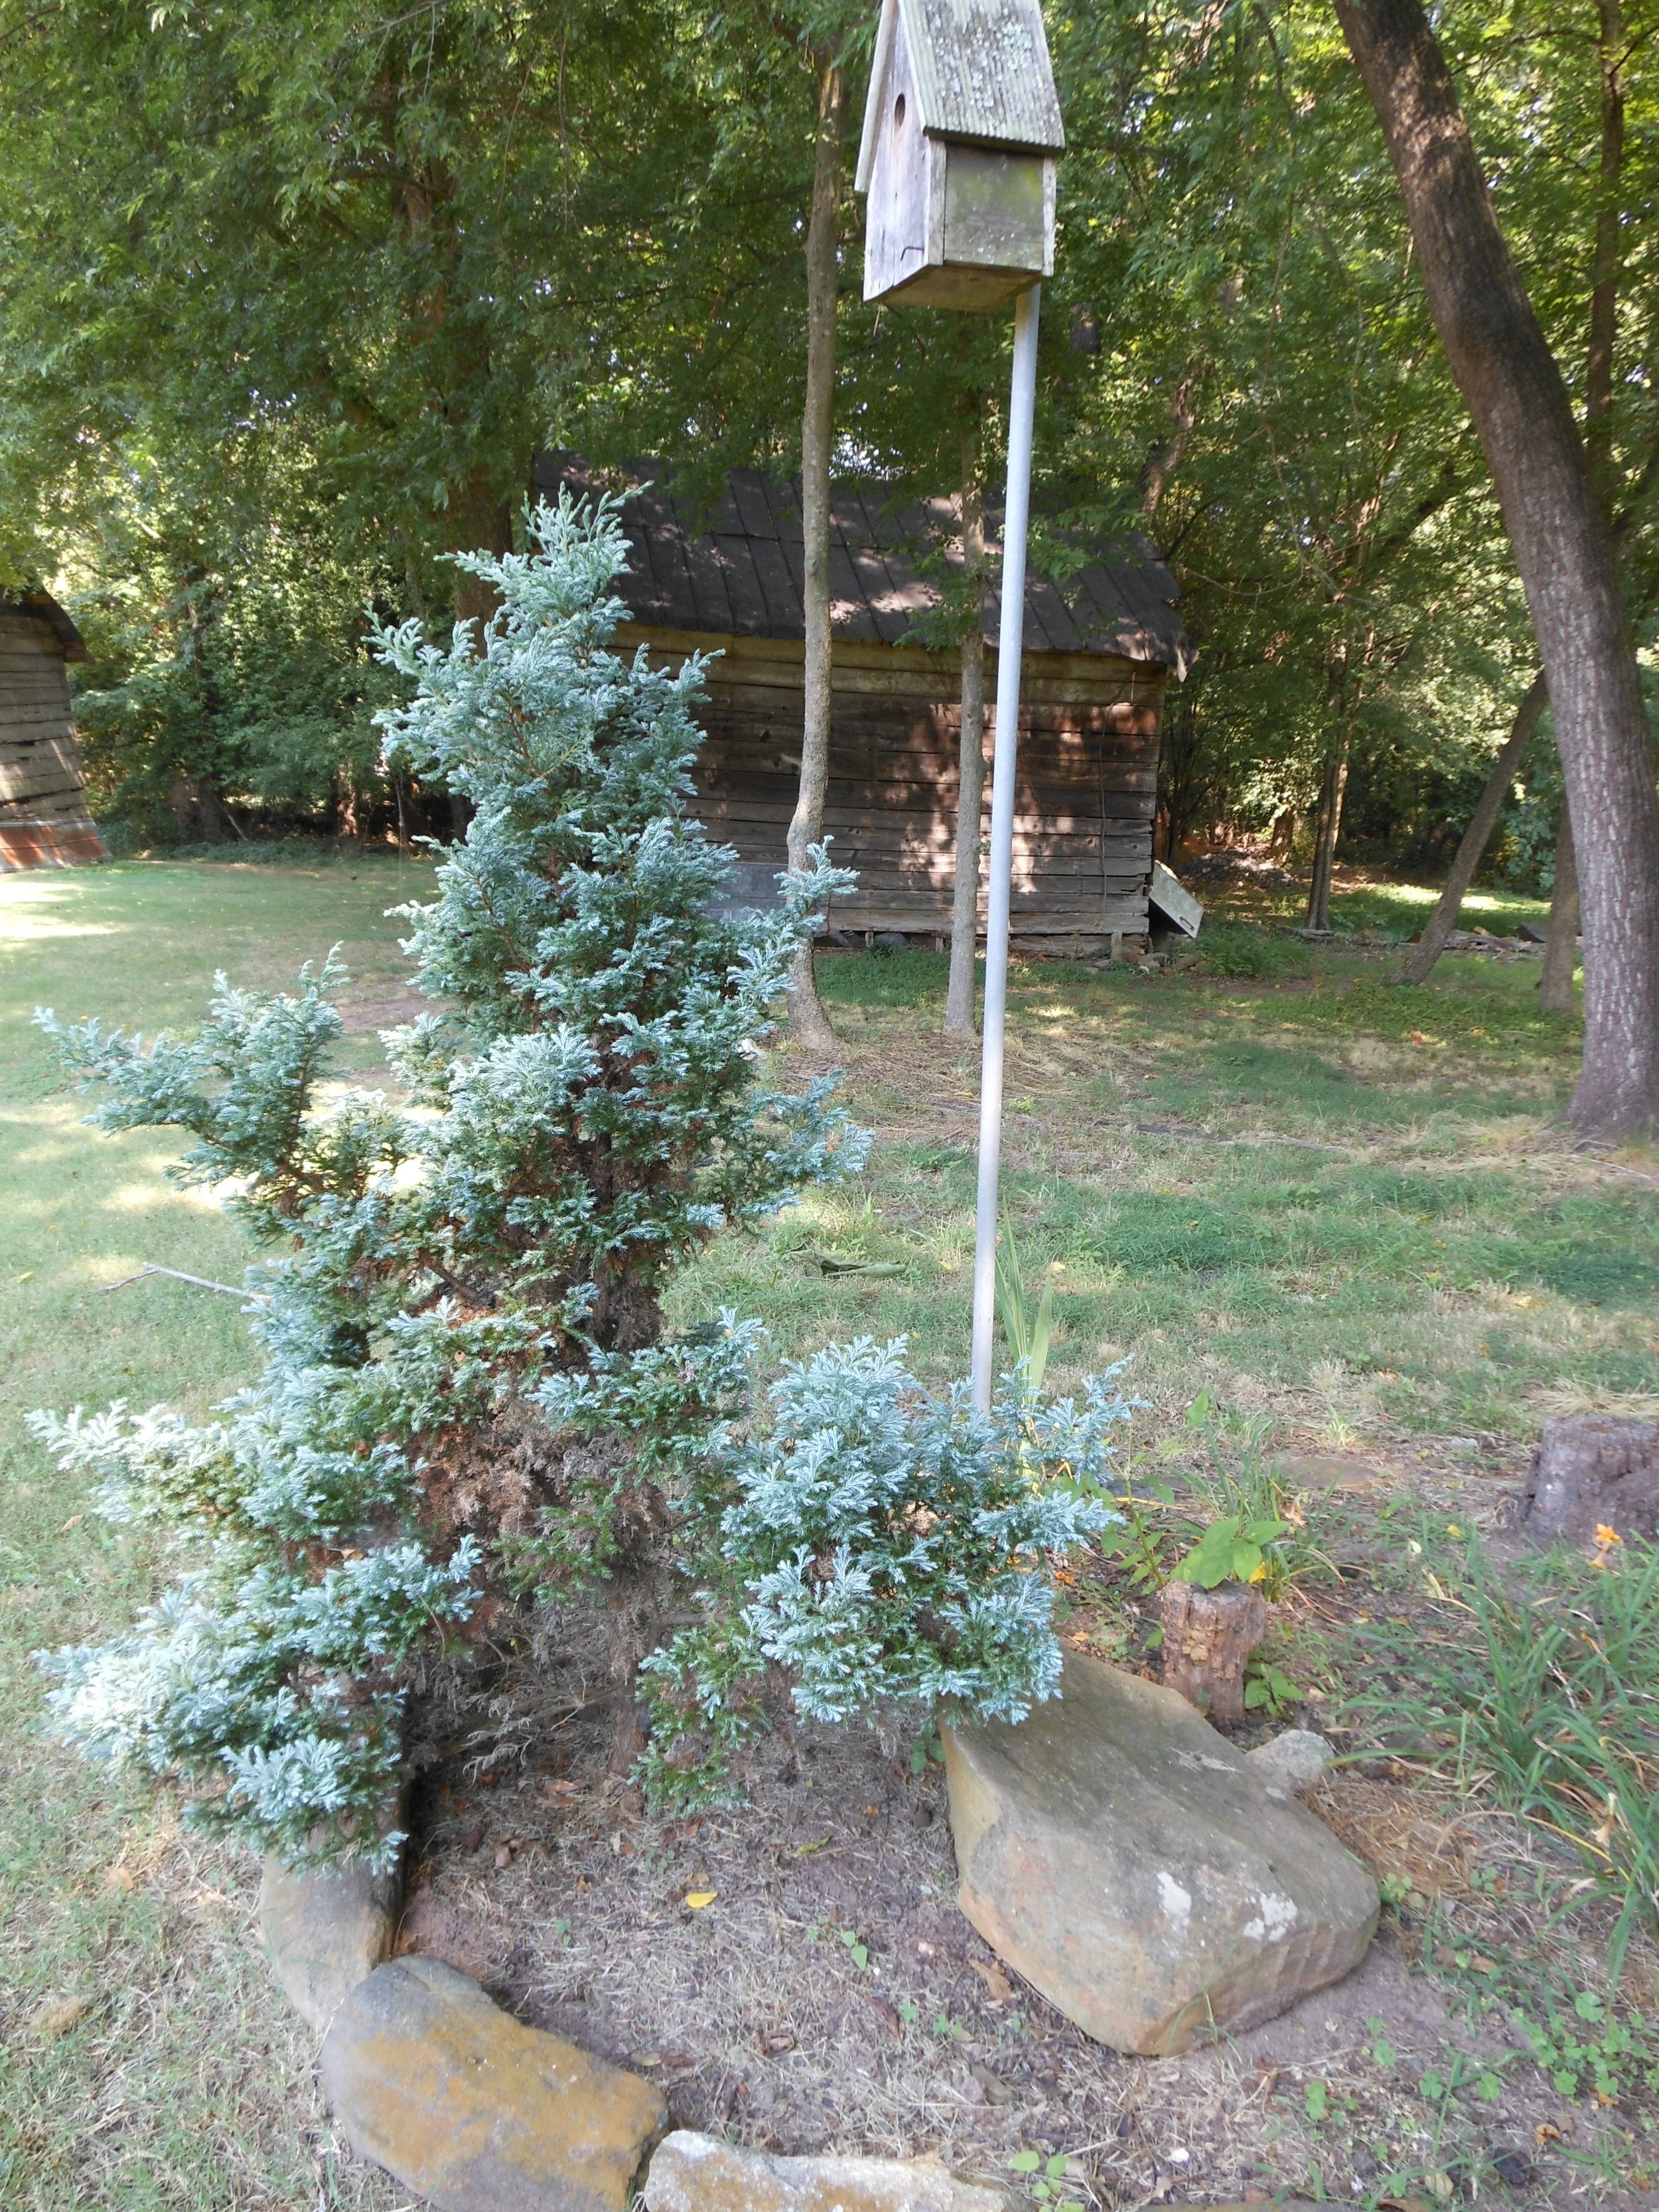
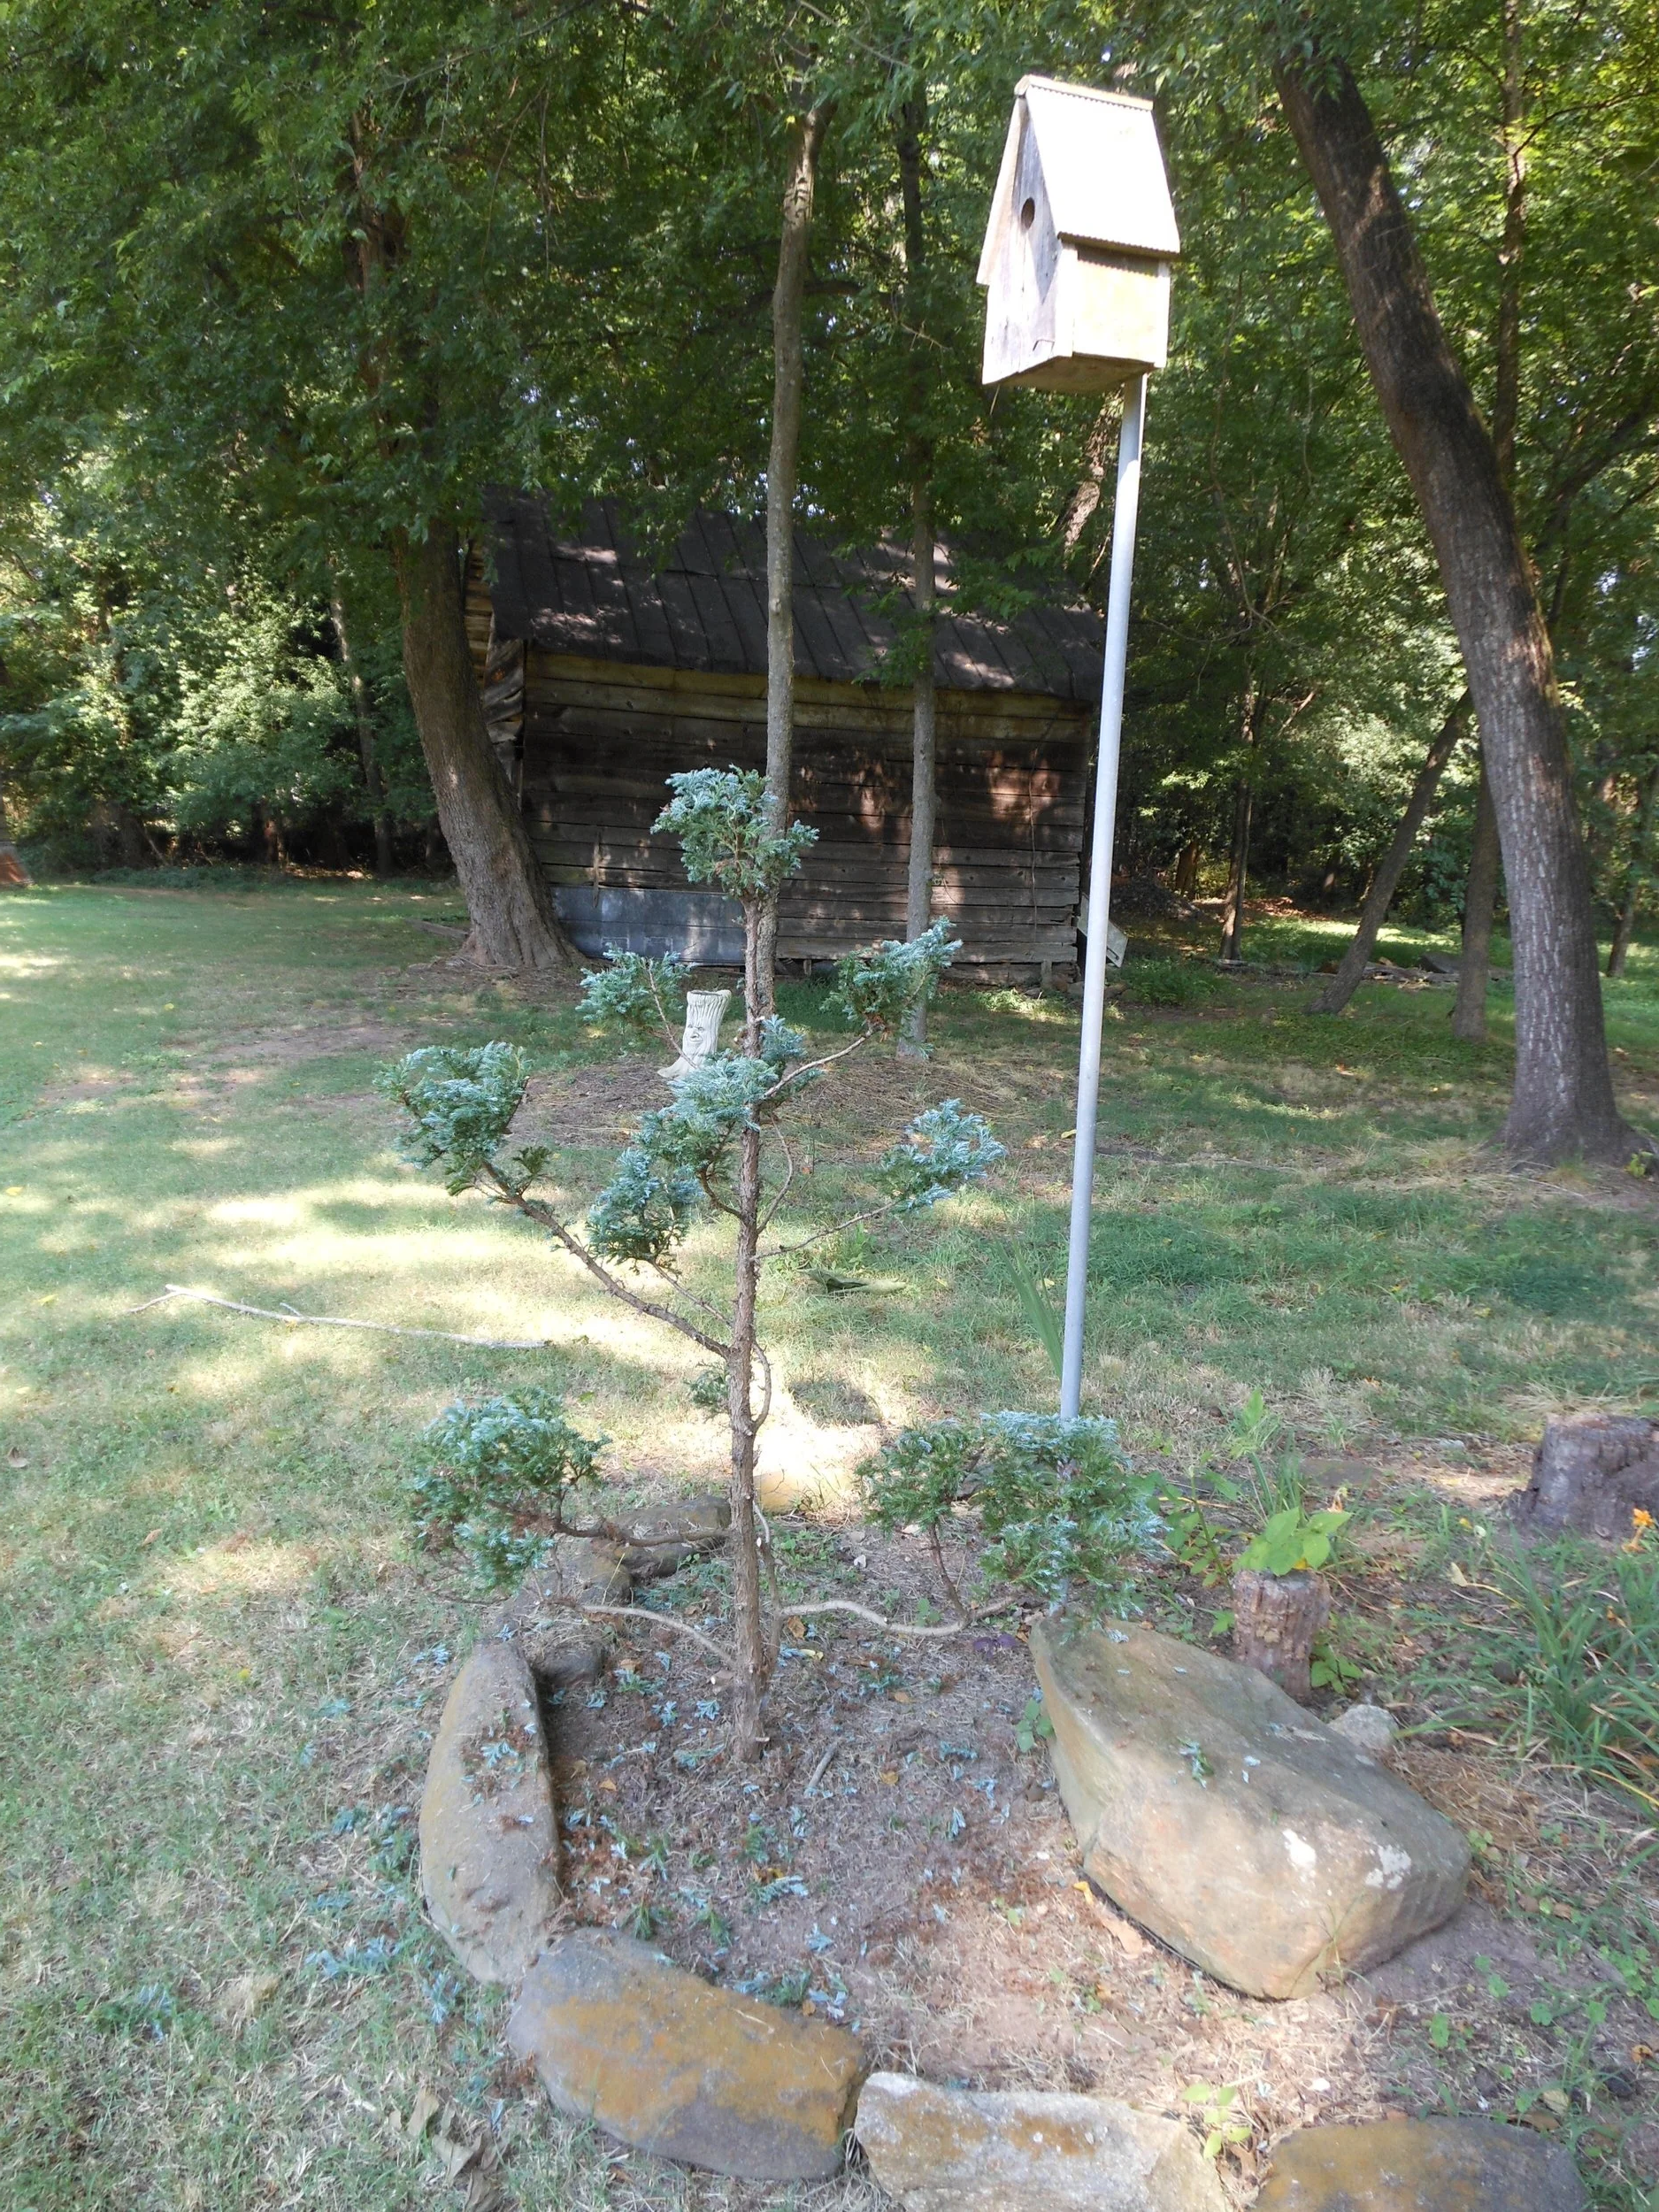
Just above the center of this photograph, you can see a tiny hummingbird nest. I did not attempt to take a photograph until after the babies left the nest.

A bowl full of flavor