It is time to bring tender outdoor plants inside before the arrival of cold temperatures. For happiest plants, make the transition a gradual one. No matter how large your windows are, indoor light is not as powerful as outdoor exposure. Rather than moving your containers from a sunny porch directly to their winter home, condition them to reduced light. Just as you harden off new seedlings by exposing them to increasing amount of sun and wind, reverse the order and move those soon-to-be-houseplants into a shady, protected area for a week before they make the relocation to indoors. This extra step allows them to acclimate to reduced sunlight and helps prevent extensive leaf drop.
Once plants have made the move, look for stretching (elongated stems) or reaching toward light sources. If too much stretching occurs, invest in a grow light to supplement what is naturally available. Don’t allow leaves to touch the bulbs. It is a good idea to rotate plants a quarter-turn each week to maintain a normal shape. Repurpose an unused lazy susan or place the container atop a handful of marbles in its saucer. The marbles serve as pseudo ball bearings; plants can be rotated easily without moving the saucer and scuffing floors.
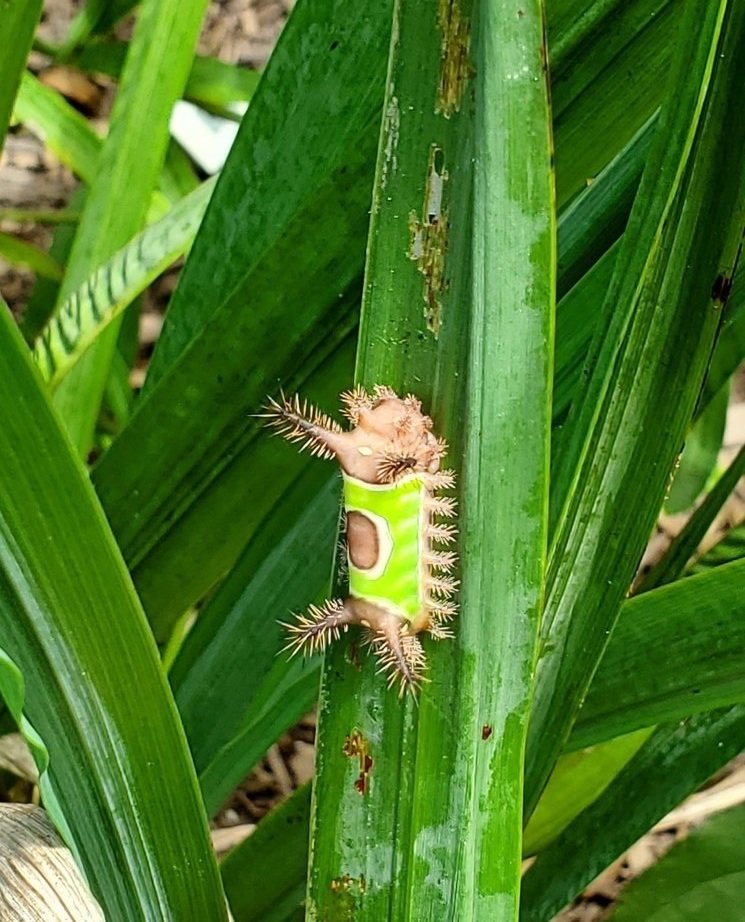
Before you bring them indoors, check plants for insects. I use a hand-held magnifying lens (a 10x jeweler’s loupe) to look for tiny insects like spider mites, white fly, scale, and aphids. I never know what my pets might nibble on, so I avoid insecticides on any indoor plants. A cotton swab dampened with rubbing alcohol can remove pests without damaging leaves or leaving toxic residues. Also remove any dead, dying, or ragged leaves.
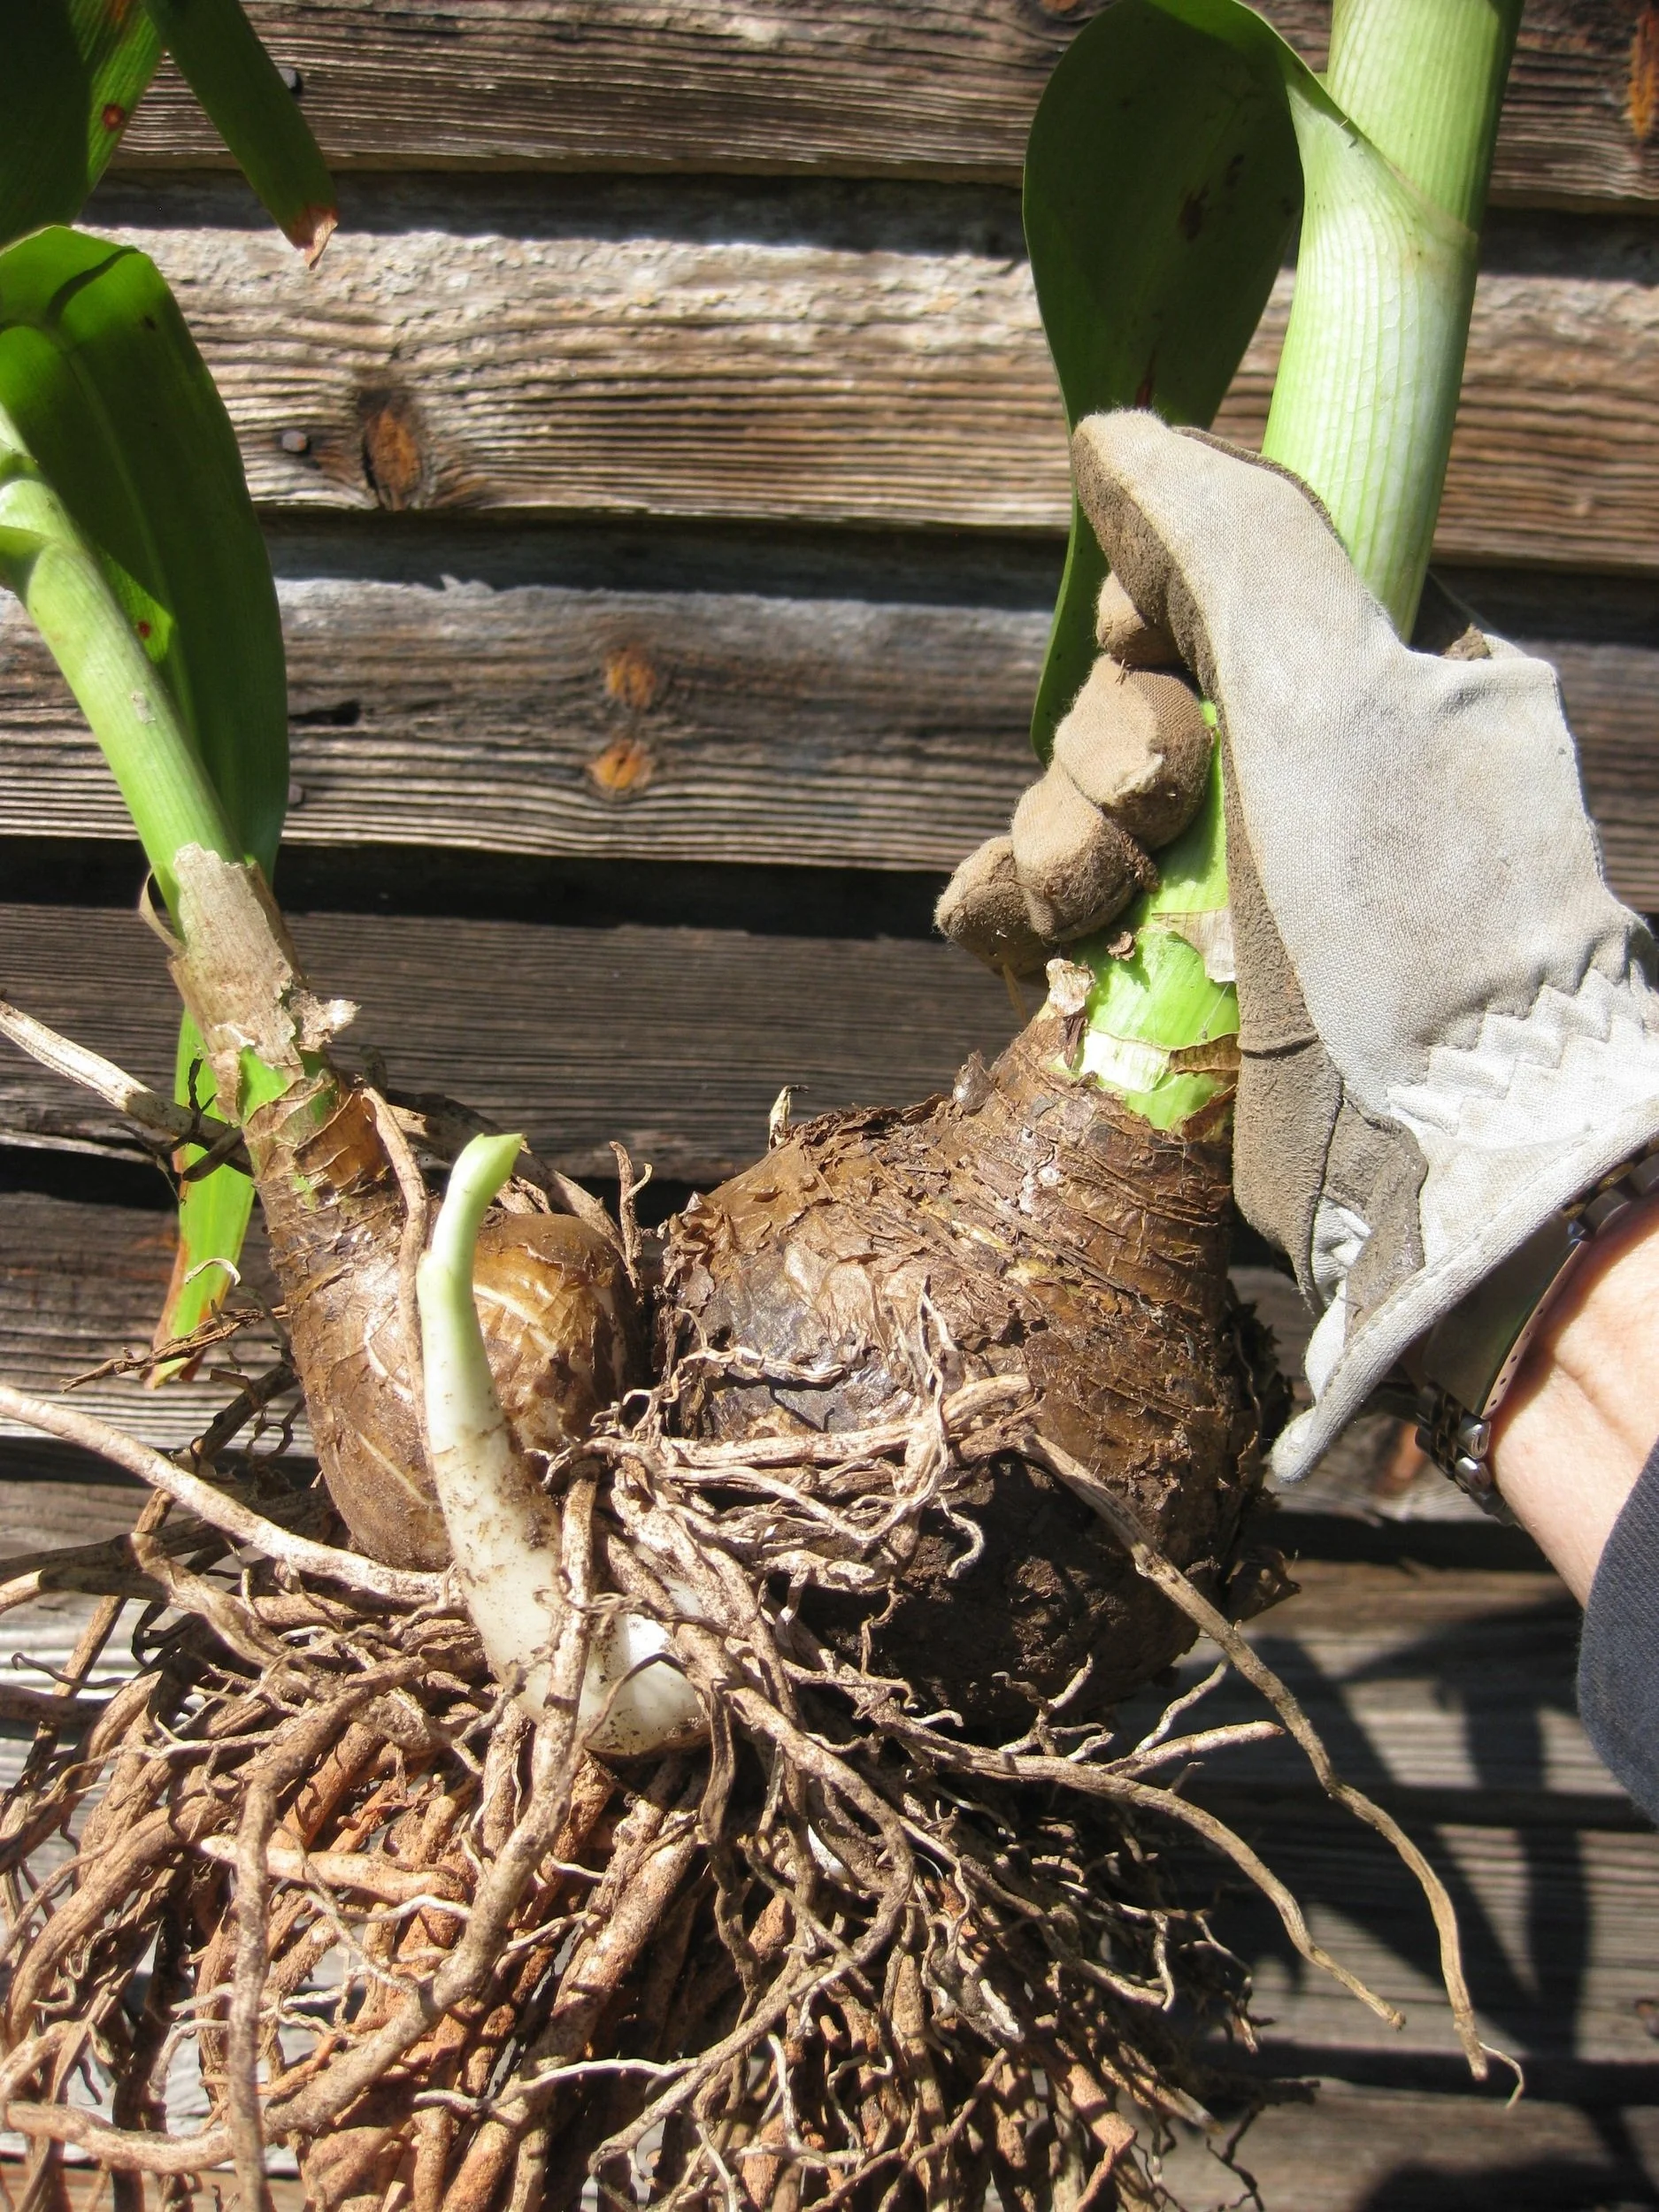
Spring is the right time to repot container plants, but I am usually too busy with other garden tasks at that time, so I do a fall cleanup, cutback, and repot all at once. I typically discover some of my container plants have become horribly, embarrassingly root-bound. This is also the time of year that I buy a few plants that have been marked down as part of an end-of-season sale. These, too, are likely to be root-bound.
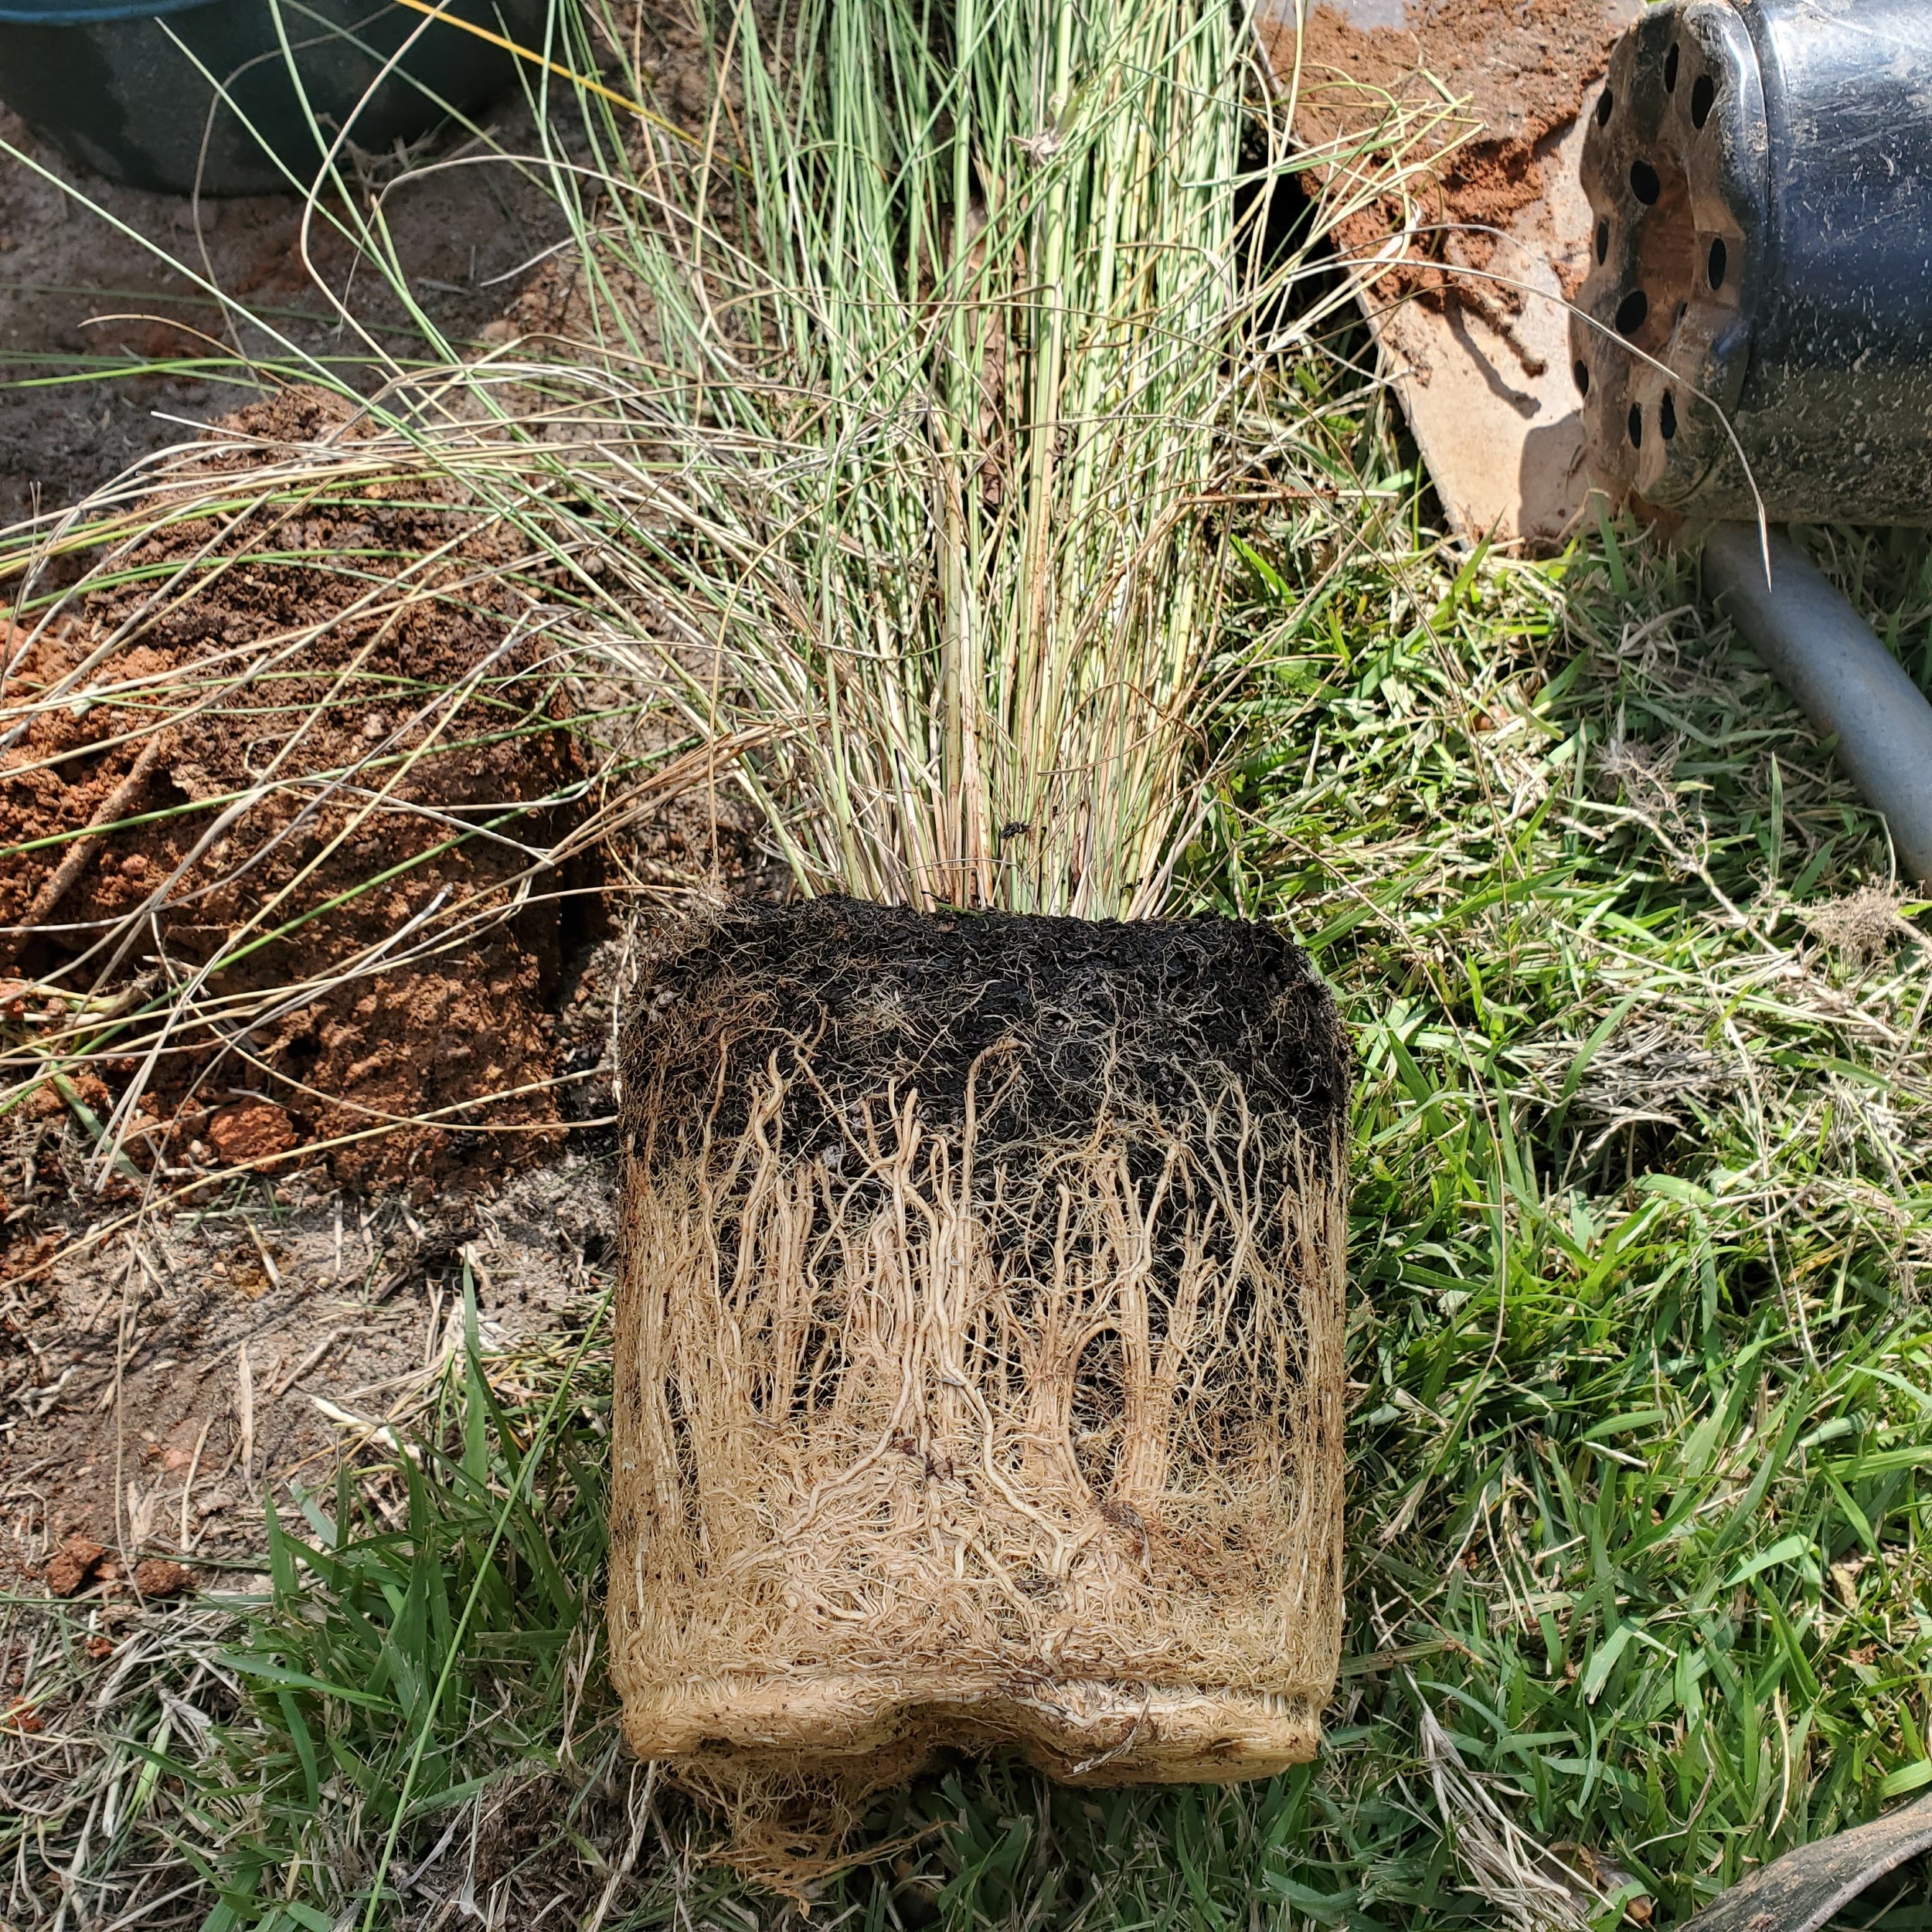
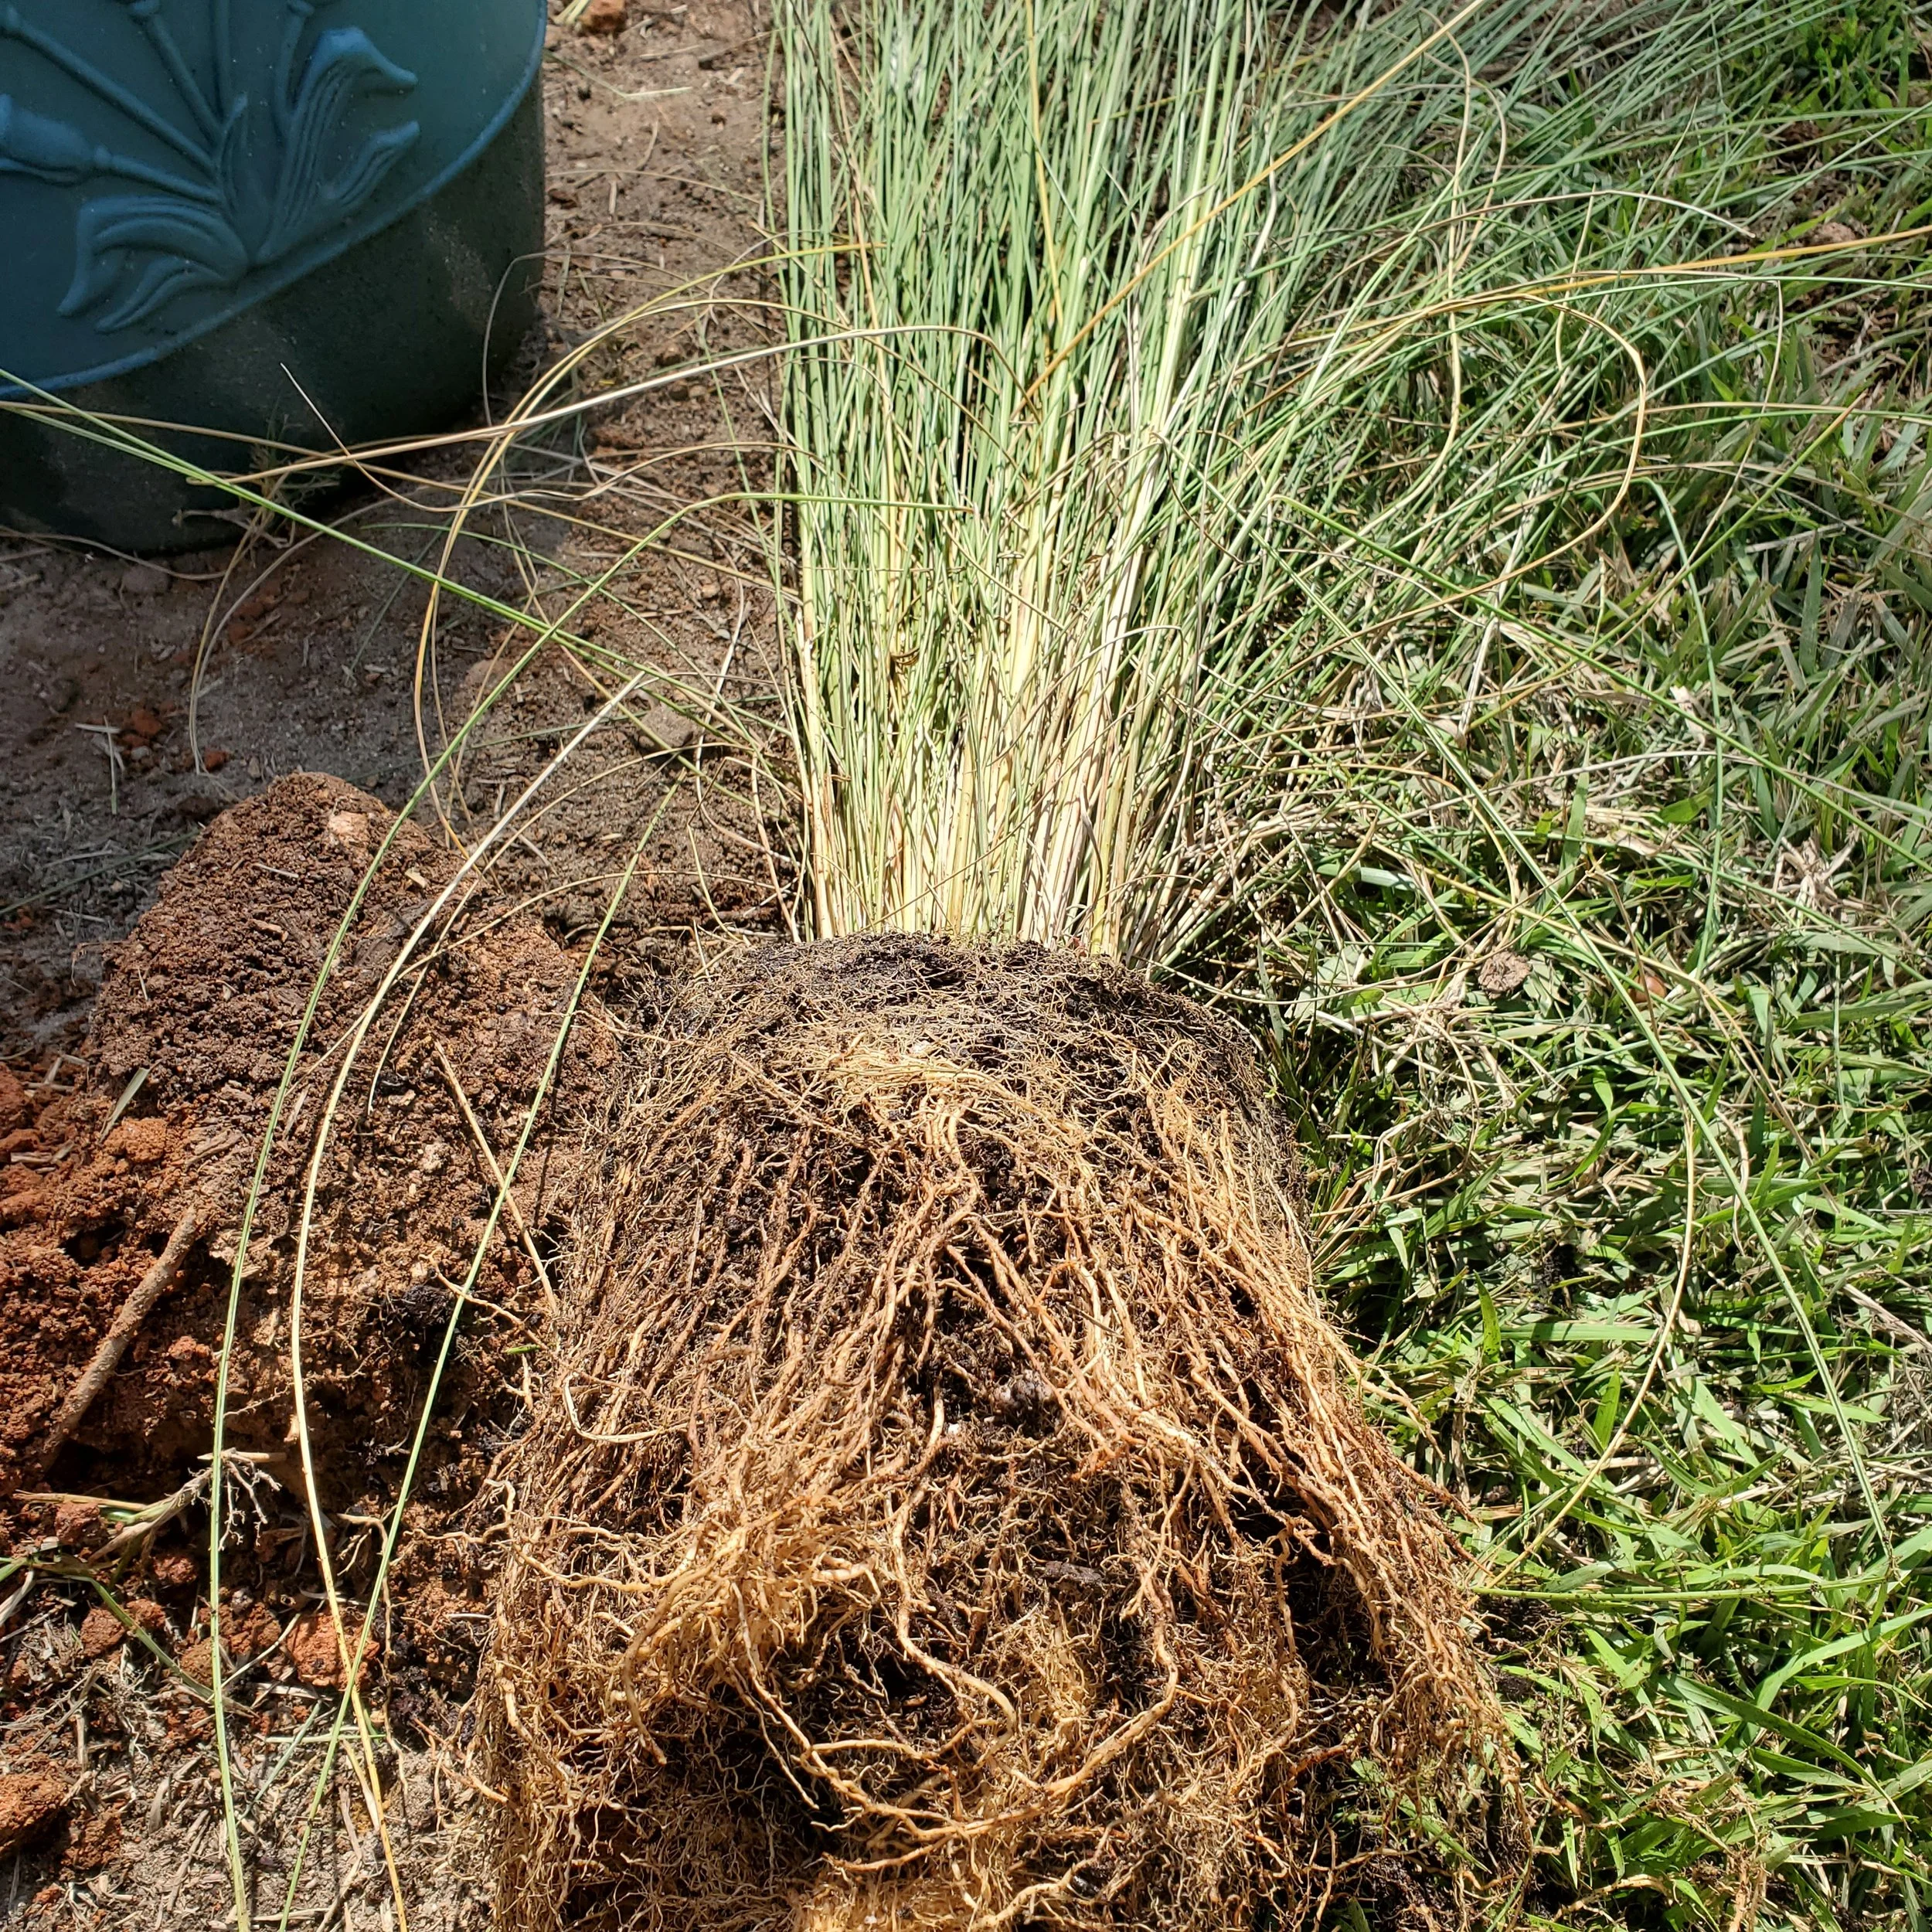
So, what does “root-bound” mean, exactly? It is when the roots of a plant have outgrown the volume of soil in its pot. The roots have circled the outermost section of the container. In worst cases, roots have displaced the soil so that you can barely see any dirt. If the problem is minor, use a hand cultivator to tease the roots away from each other. Don’t be concerned if you break a few. Significant congestion calls for more drastic steps. For serious cases, use a serrated knife or an electric carving knife from the kitchen to peel off the outside of the root mass. Do not dig deep into the root ball; just remove the outermost portion and an inch or two off the bottom. Reduce top growth at the same time. Return the whittled rootball back to its container, adding enough fresh potting soil to fill the pot, and water just enough to settle everything.
Be cautious to not overwater plants that have moved indoors for the winter. Plants that are not exposed to drying breezes or harsh sun need less moisture. While they do need high humidity, a too-wet soil may cause root rot. Mist to keep humidity high or place pebbles or marbles in the saucer, then add a bit of water but do not cover the pebbles/marbles. You do not want the bottom of the pot to be sitting in water.
To encourage plants to become larger, treat congested roots as described above but replant into a larger container. Just move up a size or two. Plants do not respond well when the container size increase is too large. I am sure there is some science that explains why this is true, but I do not know a source that explains the reasons. From personal experience (read: failure), I can tell you that moving a plant from an 8-inch container to a 14-inch container does not end well. If properly pruned and roots loosened, a container that overwinters indoors will need little beyond hardening off when it is time to move outdoors next spring.