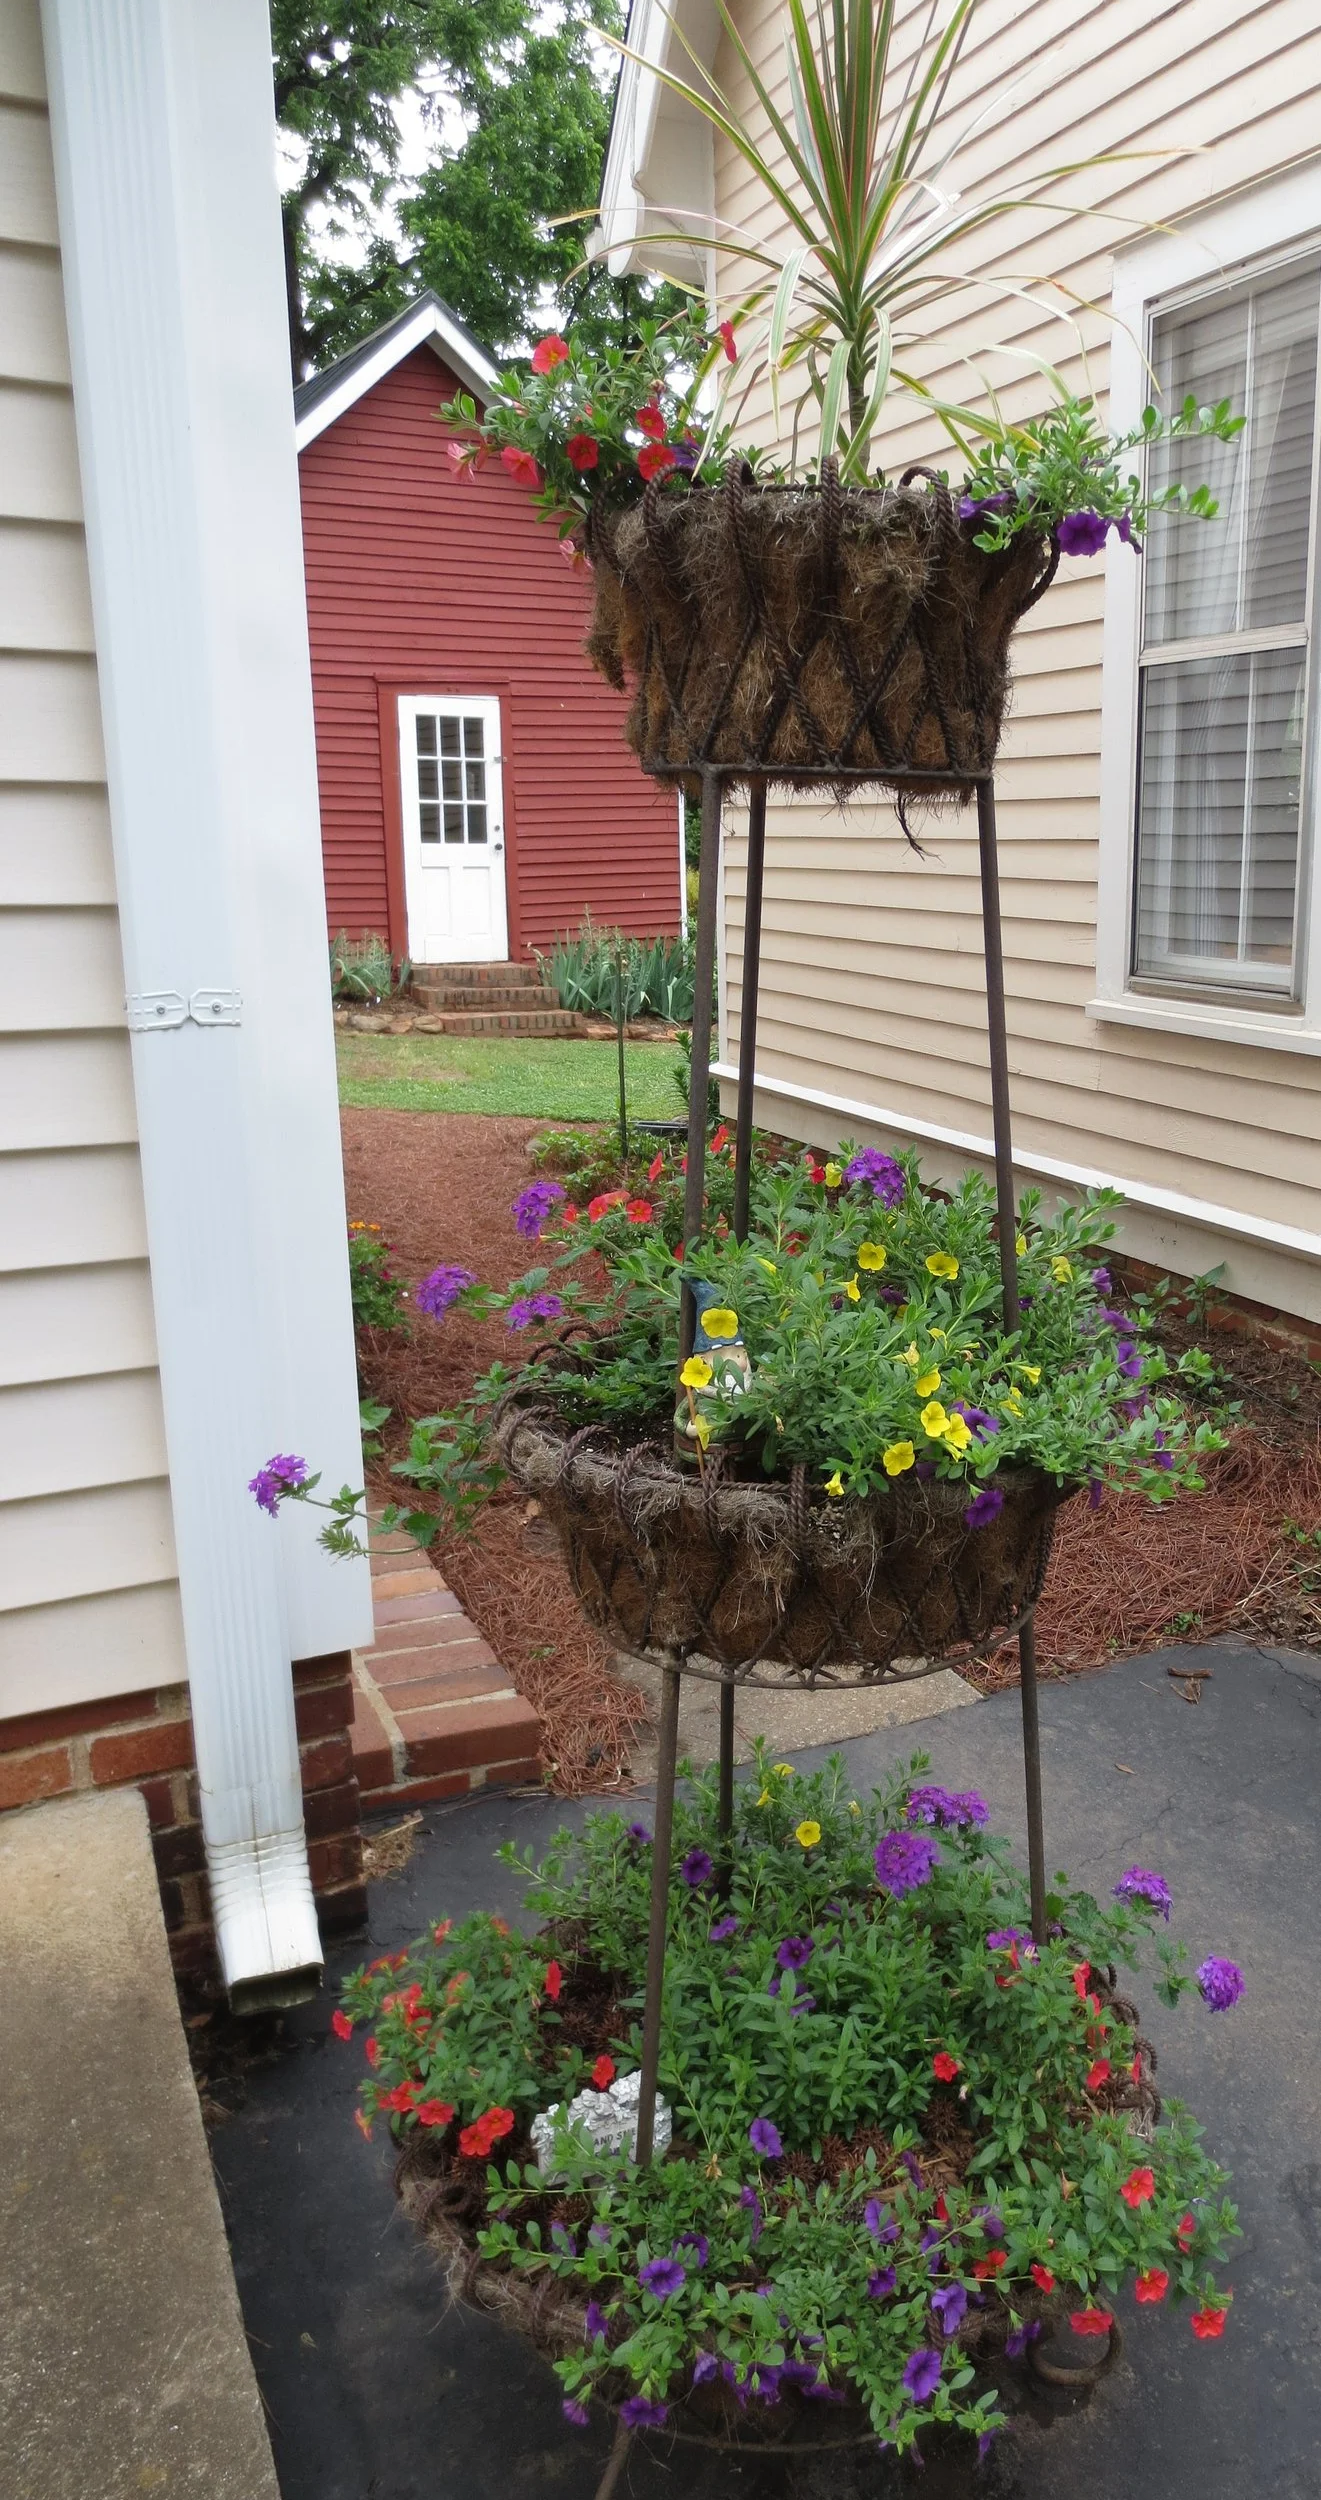
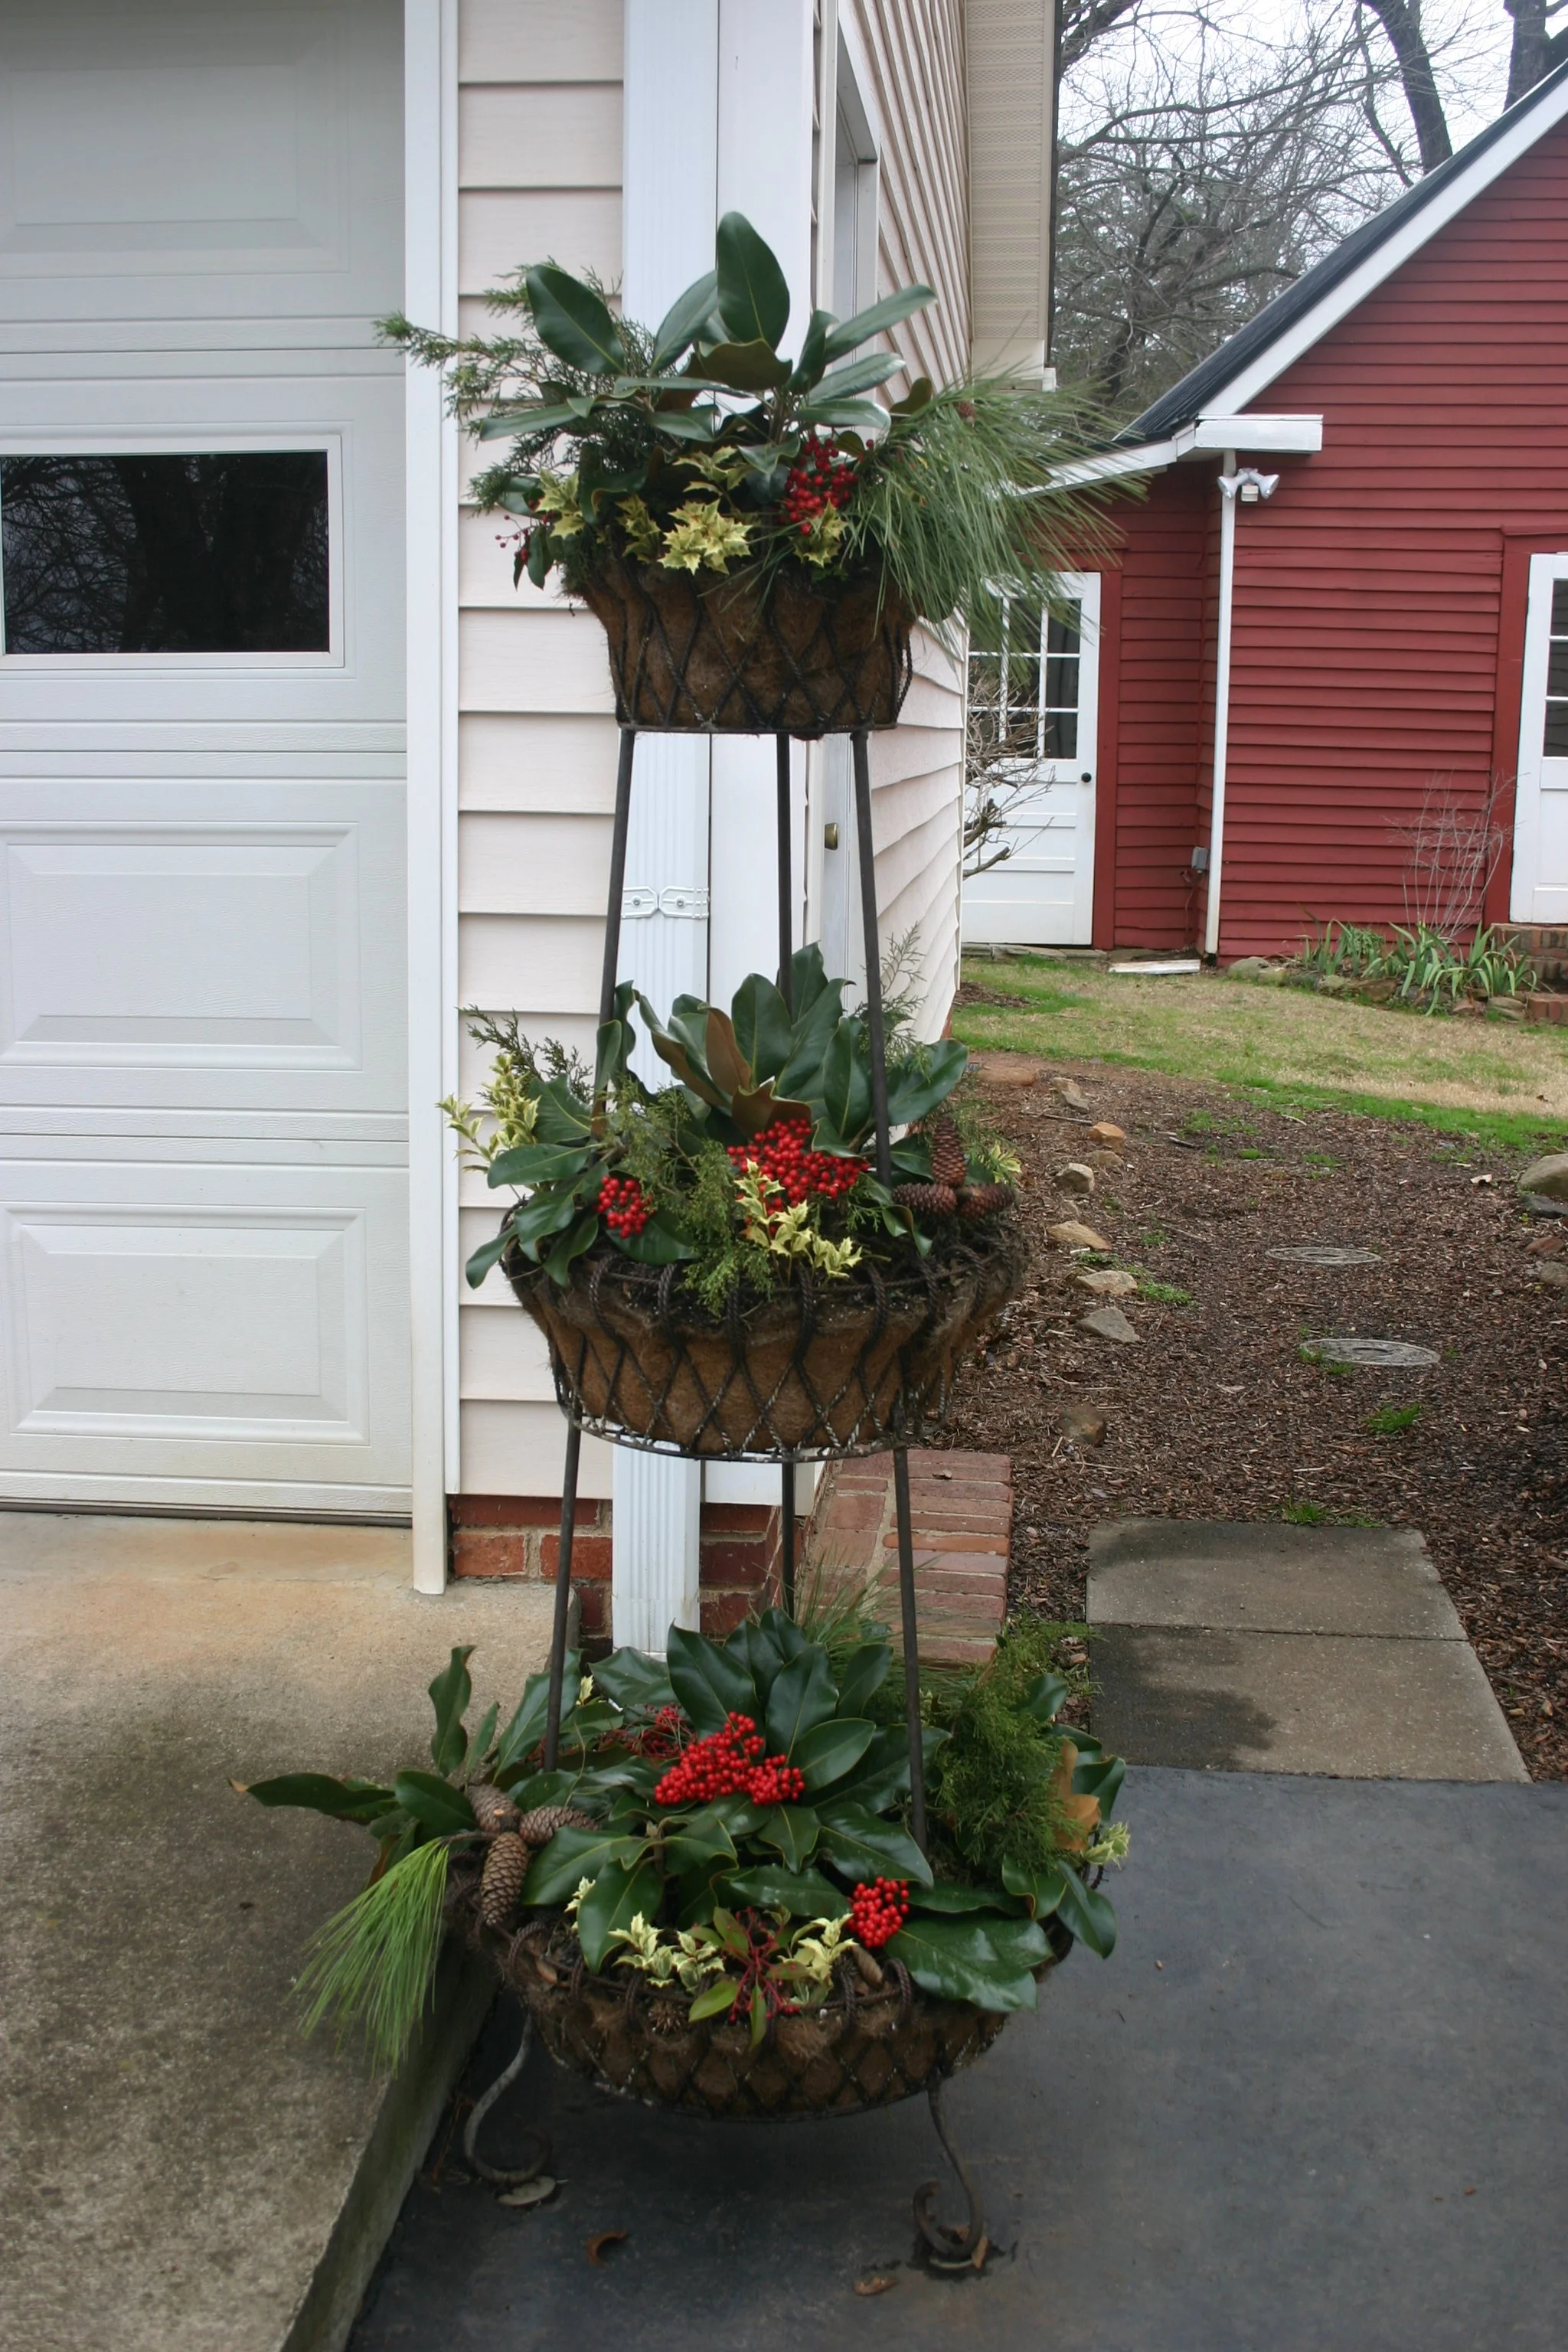
It’s time to start work on this year’s container plantings. Many years ago, I received a triple-tier garden planter as a gift. It was six feet tall with wire mesh bottom and decorative sides, and was meant for use with cocoa liners. Of course, cocoa liners break down by the end of a single season, so they became an annual cost. The size of the largest two levels meant this was a hefty expense. Because I am thrifty (read: cheap), I decided to experiment with a different method. I am sharing my success with you in this blog.
The condensed version: Make your own liners. Sew them into place. Line the liners with landscape fabric. Fill with soil and plant.
Now for the non-condensed version: Instead of continuing to purchase pre-cut liners, I bought an entire roll of cocoa mat. These are available in different sizes; I purchased the largest one I could find. It was a substatial initial cost, but the length of the roll meant I would have material for many years into the future. I used a scrap piece of material (old tablecloth) to cut a pattern for each of the three tiers. I thought I could use landscape scissors or pruners to cut the liner material, but it was tougher than I thought possible. I dulled several pairs of scissors and a pair of metal-cutting shears before I thought to wet the material. I used a large galvanized tub intended for farming use. Bingo! Soaking the roll in water for about 30 minutes made the trimming process easy, if somewhat messy. Warm water made it ever easier.
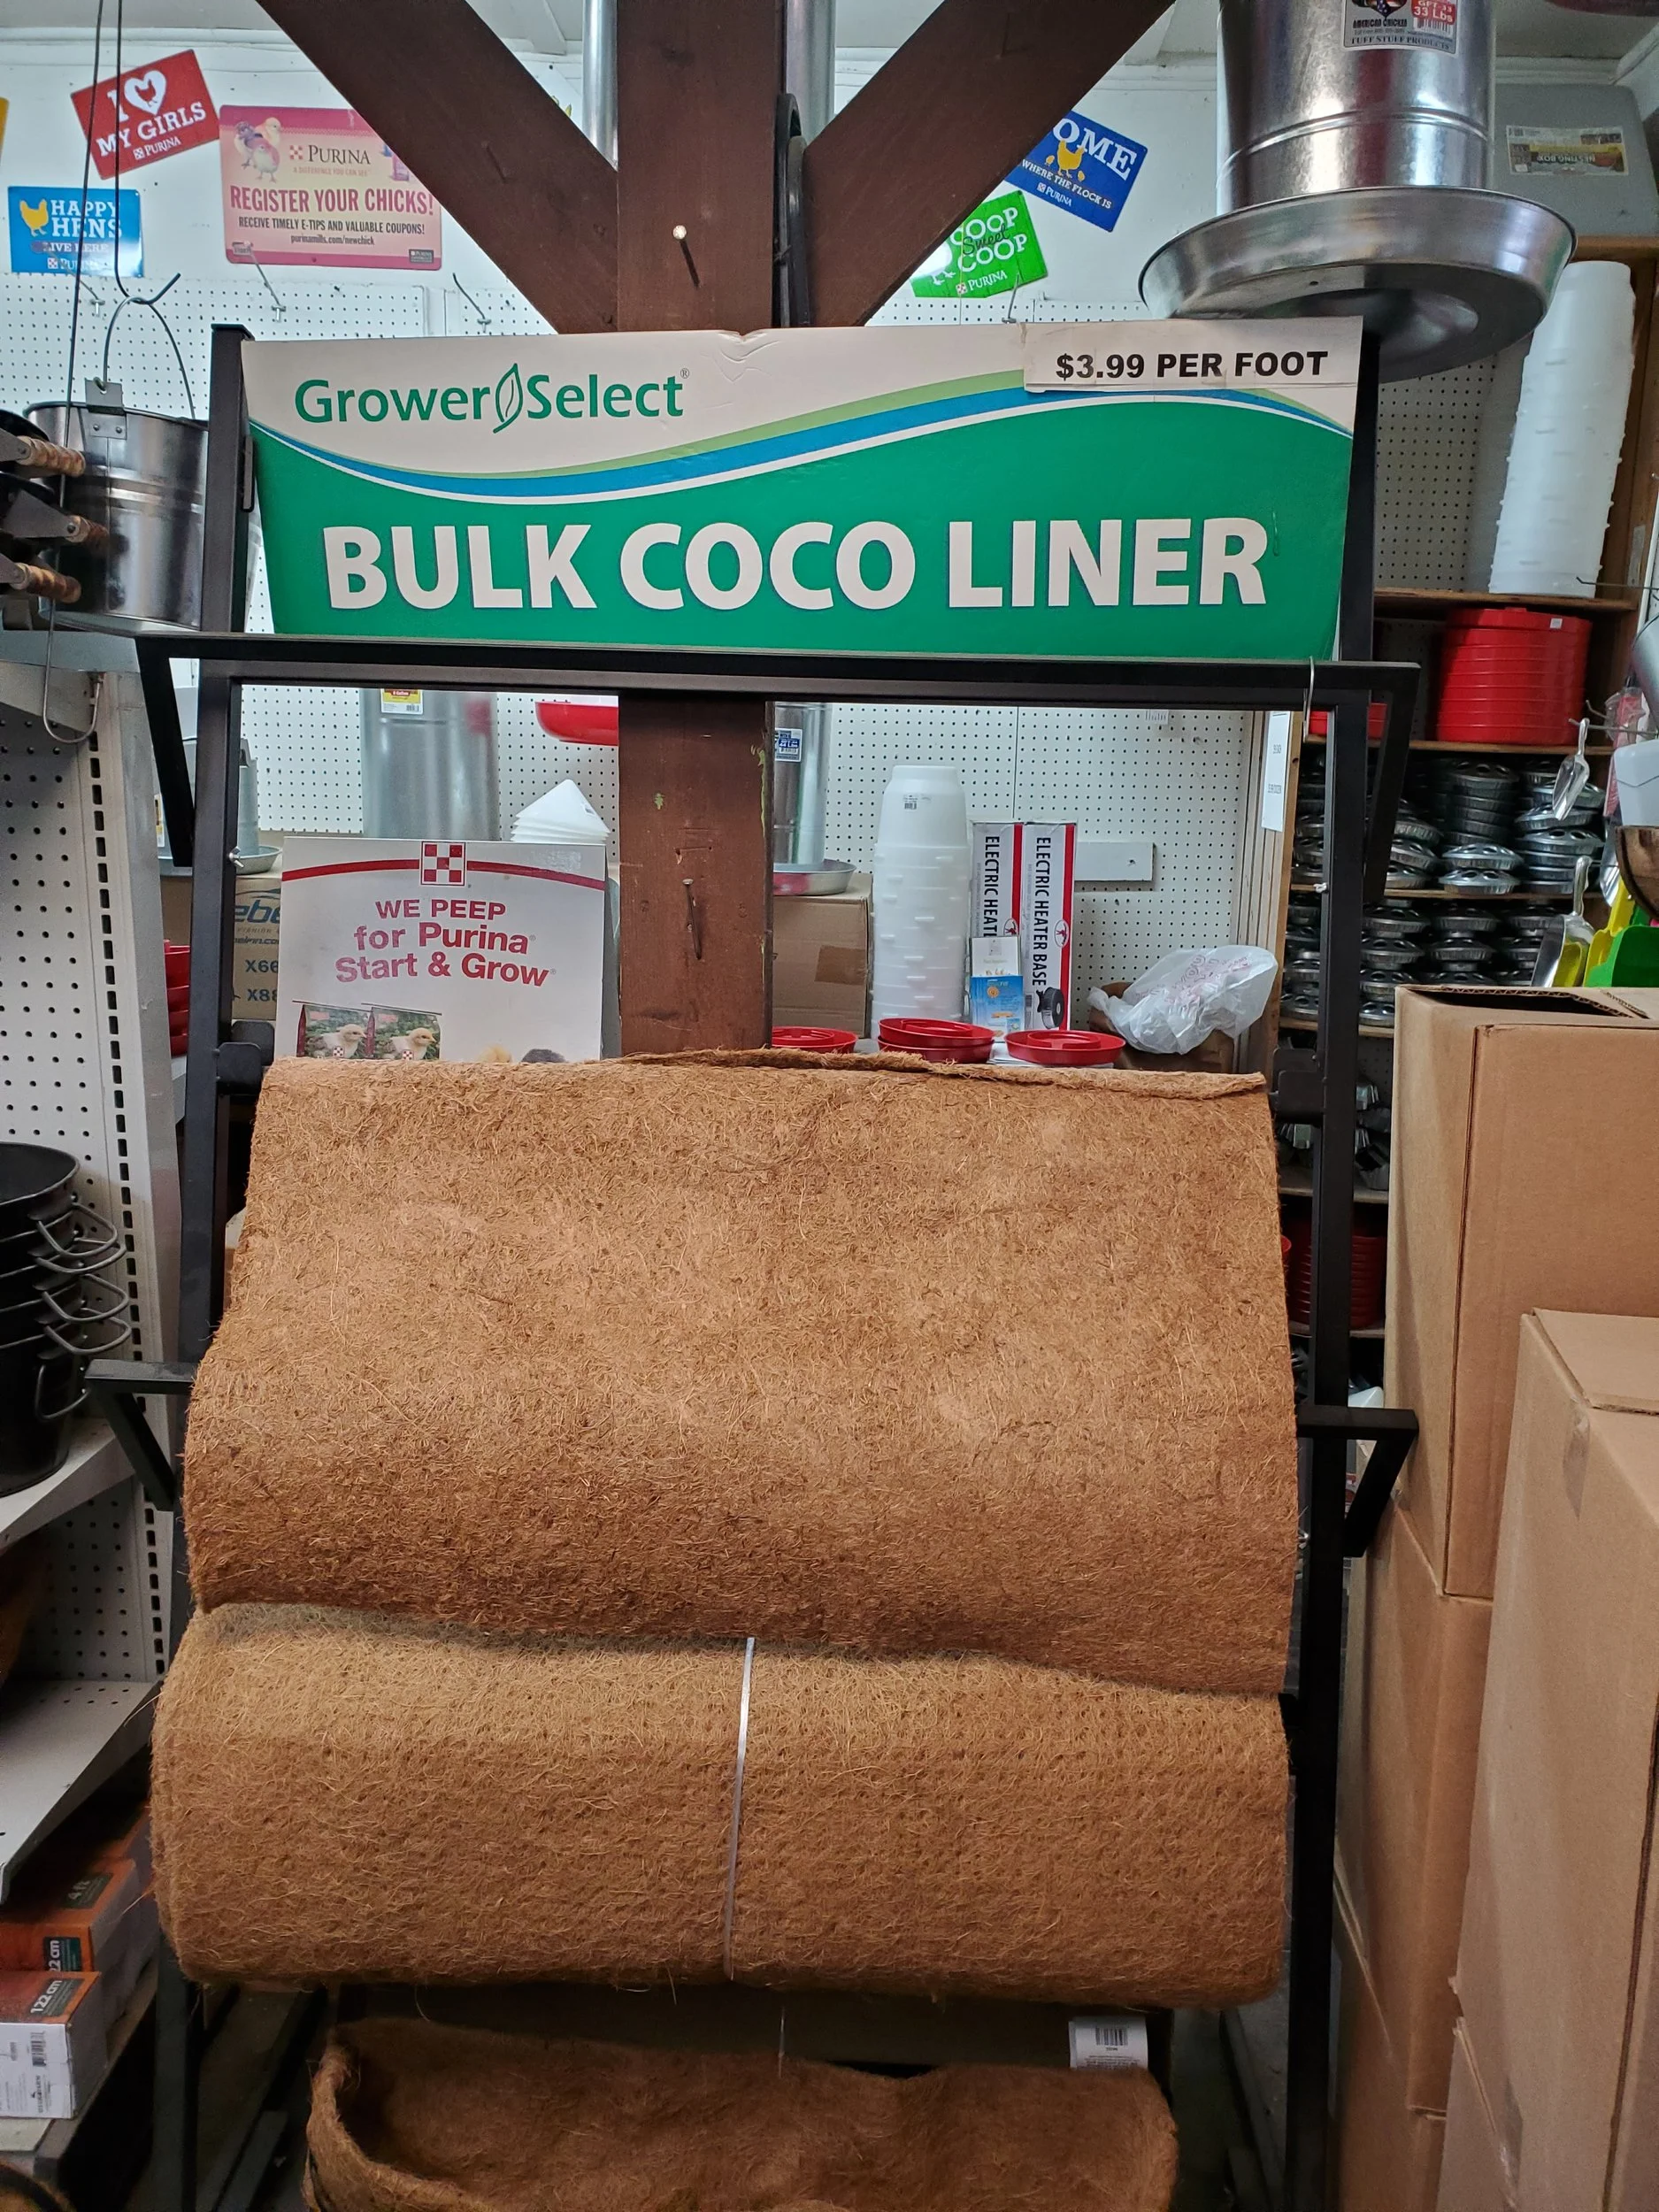
If you don’t want to purchase an entire roll of cocoa liner, check out better nurseries or farm supply stores. Many will sell this material by the foot during the spring gardening rush. This photo was taken years ago, so the price shown is not accurate in today’s market.
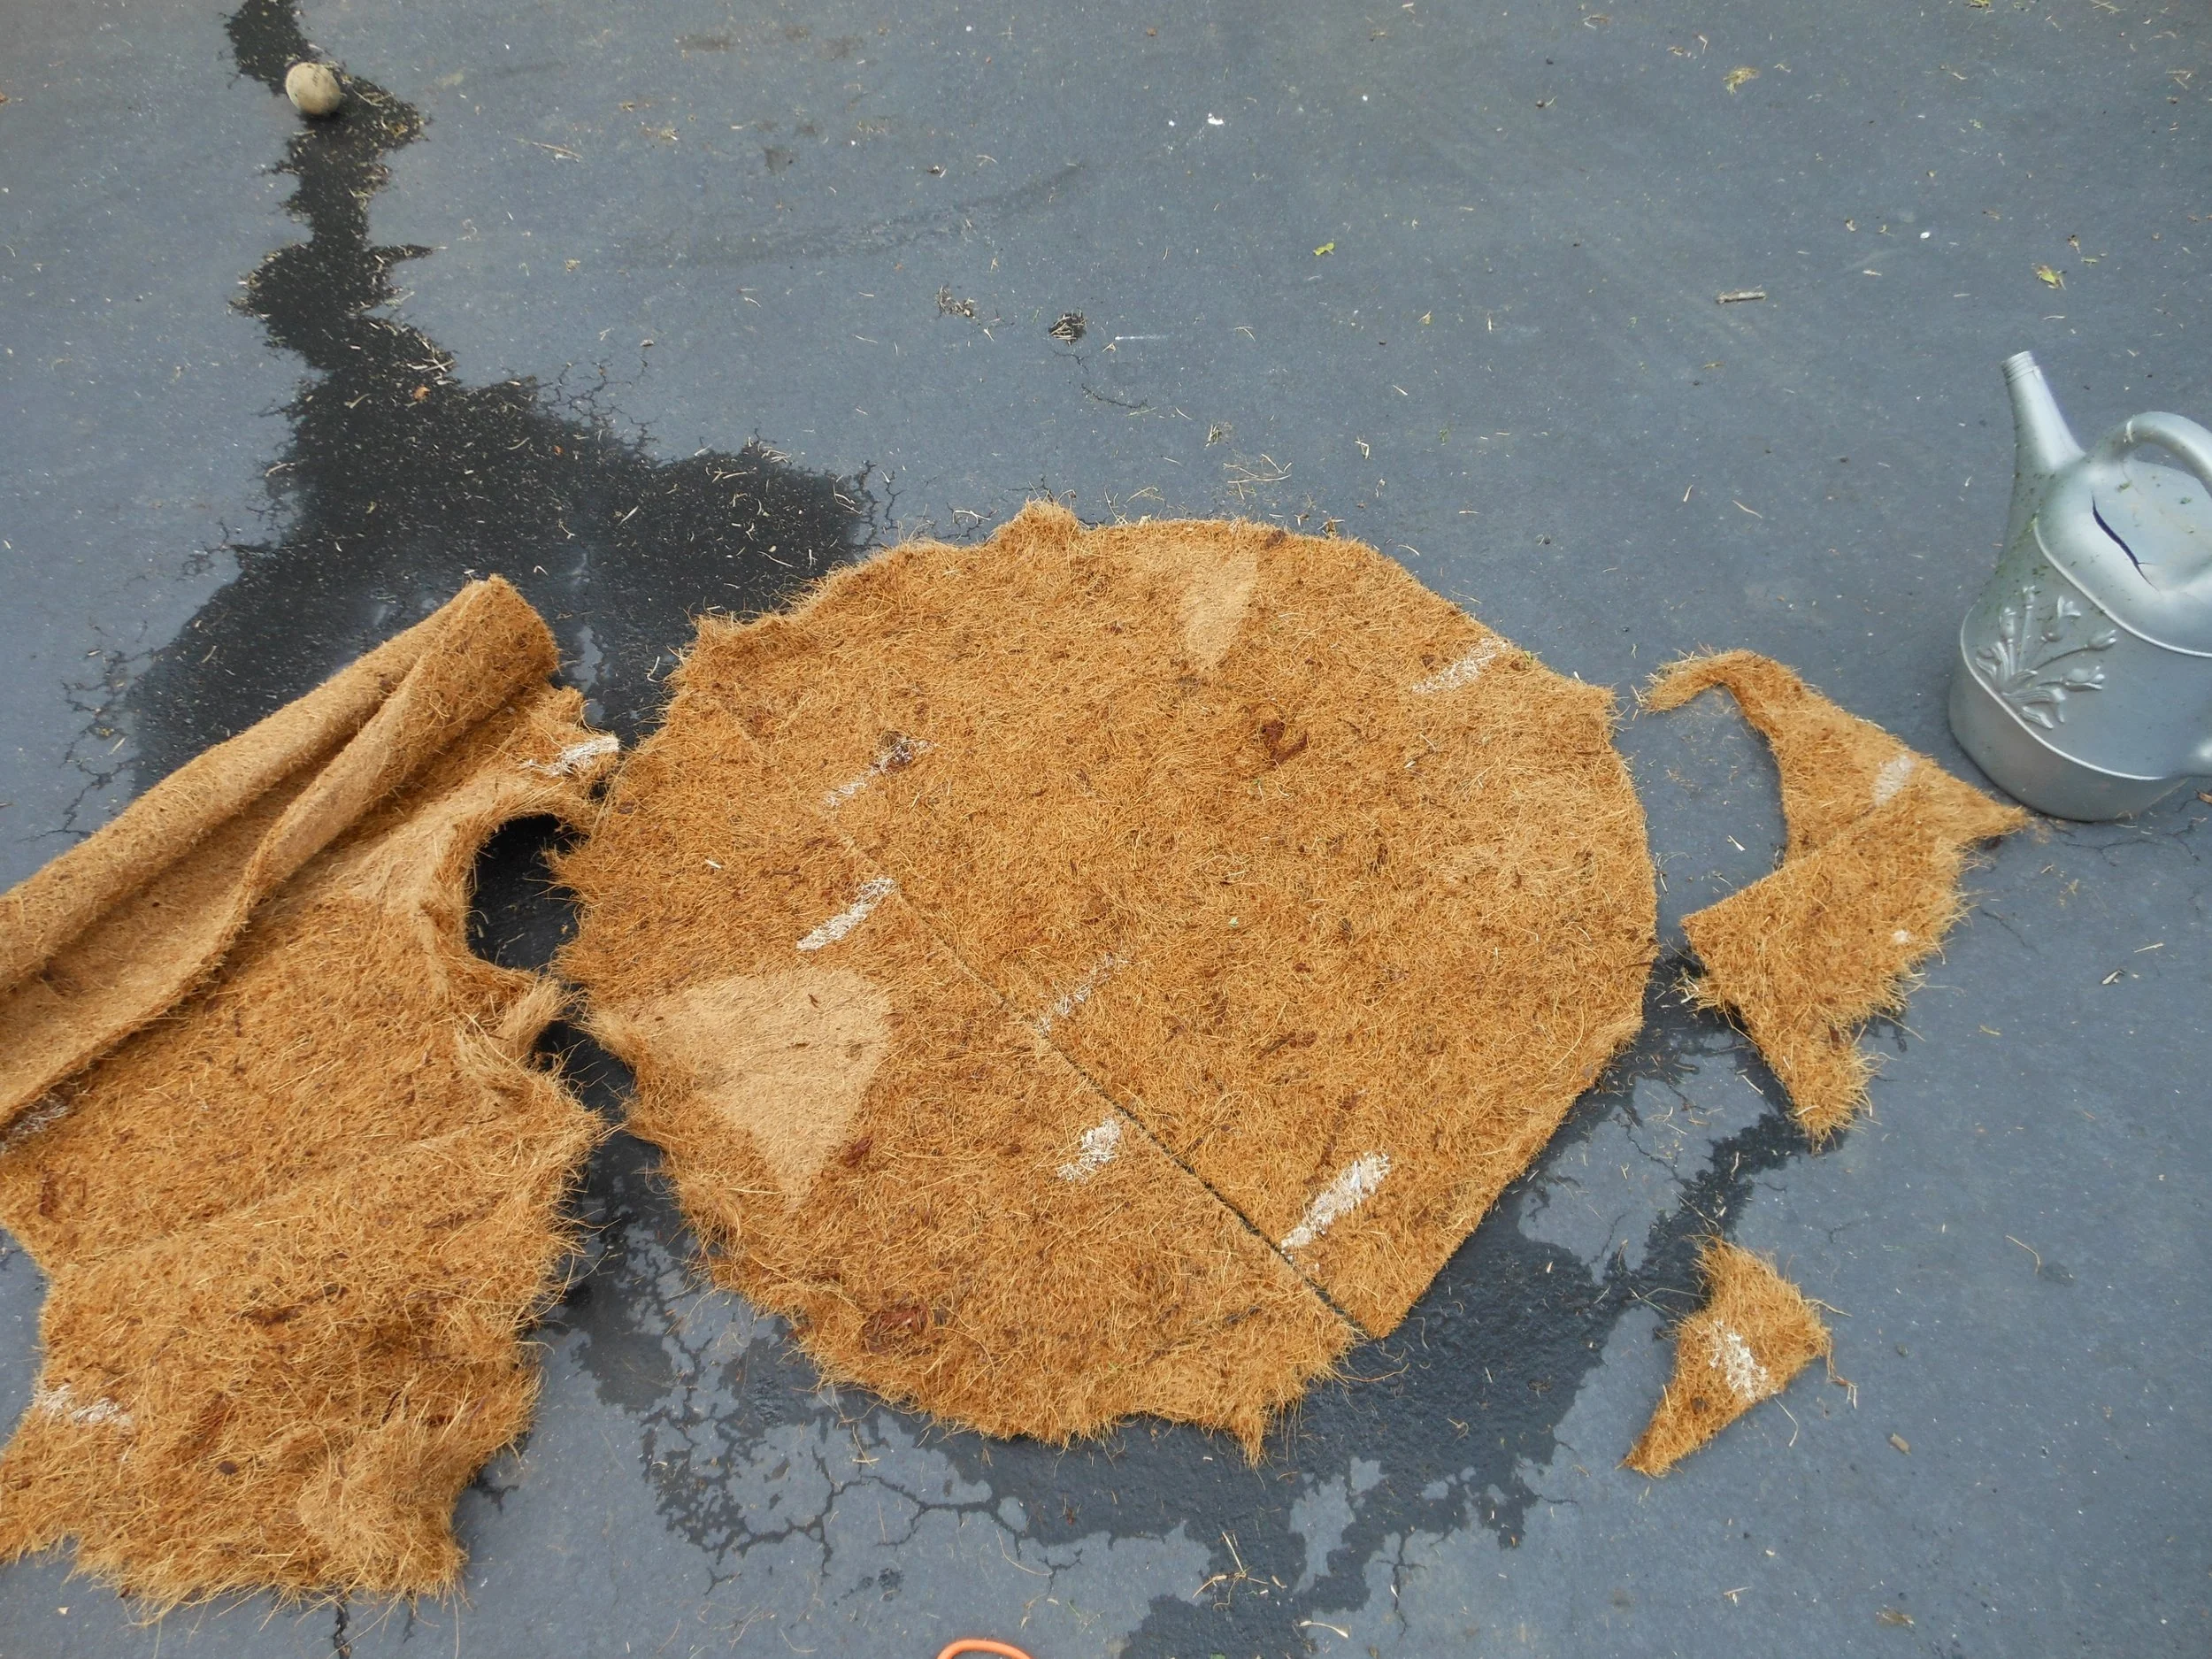
This was one of my first cut-to-size attempts. The jagged edges show where I tried to use scissors. The smooth edges were where the liner was cut after soaking.
Once the cutting process was complete, I placed those pieces into the appropriate level of the container and secured it into place using clear fishing monofilament and an upholsterer’s needle (looks like a regular sewing needle but 6 inches long and sturdy). It was simple to push the needle through the cocoa mat and wrap it around the metal frame. The clear monofilament was invisible against the wire frame of the baskets.
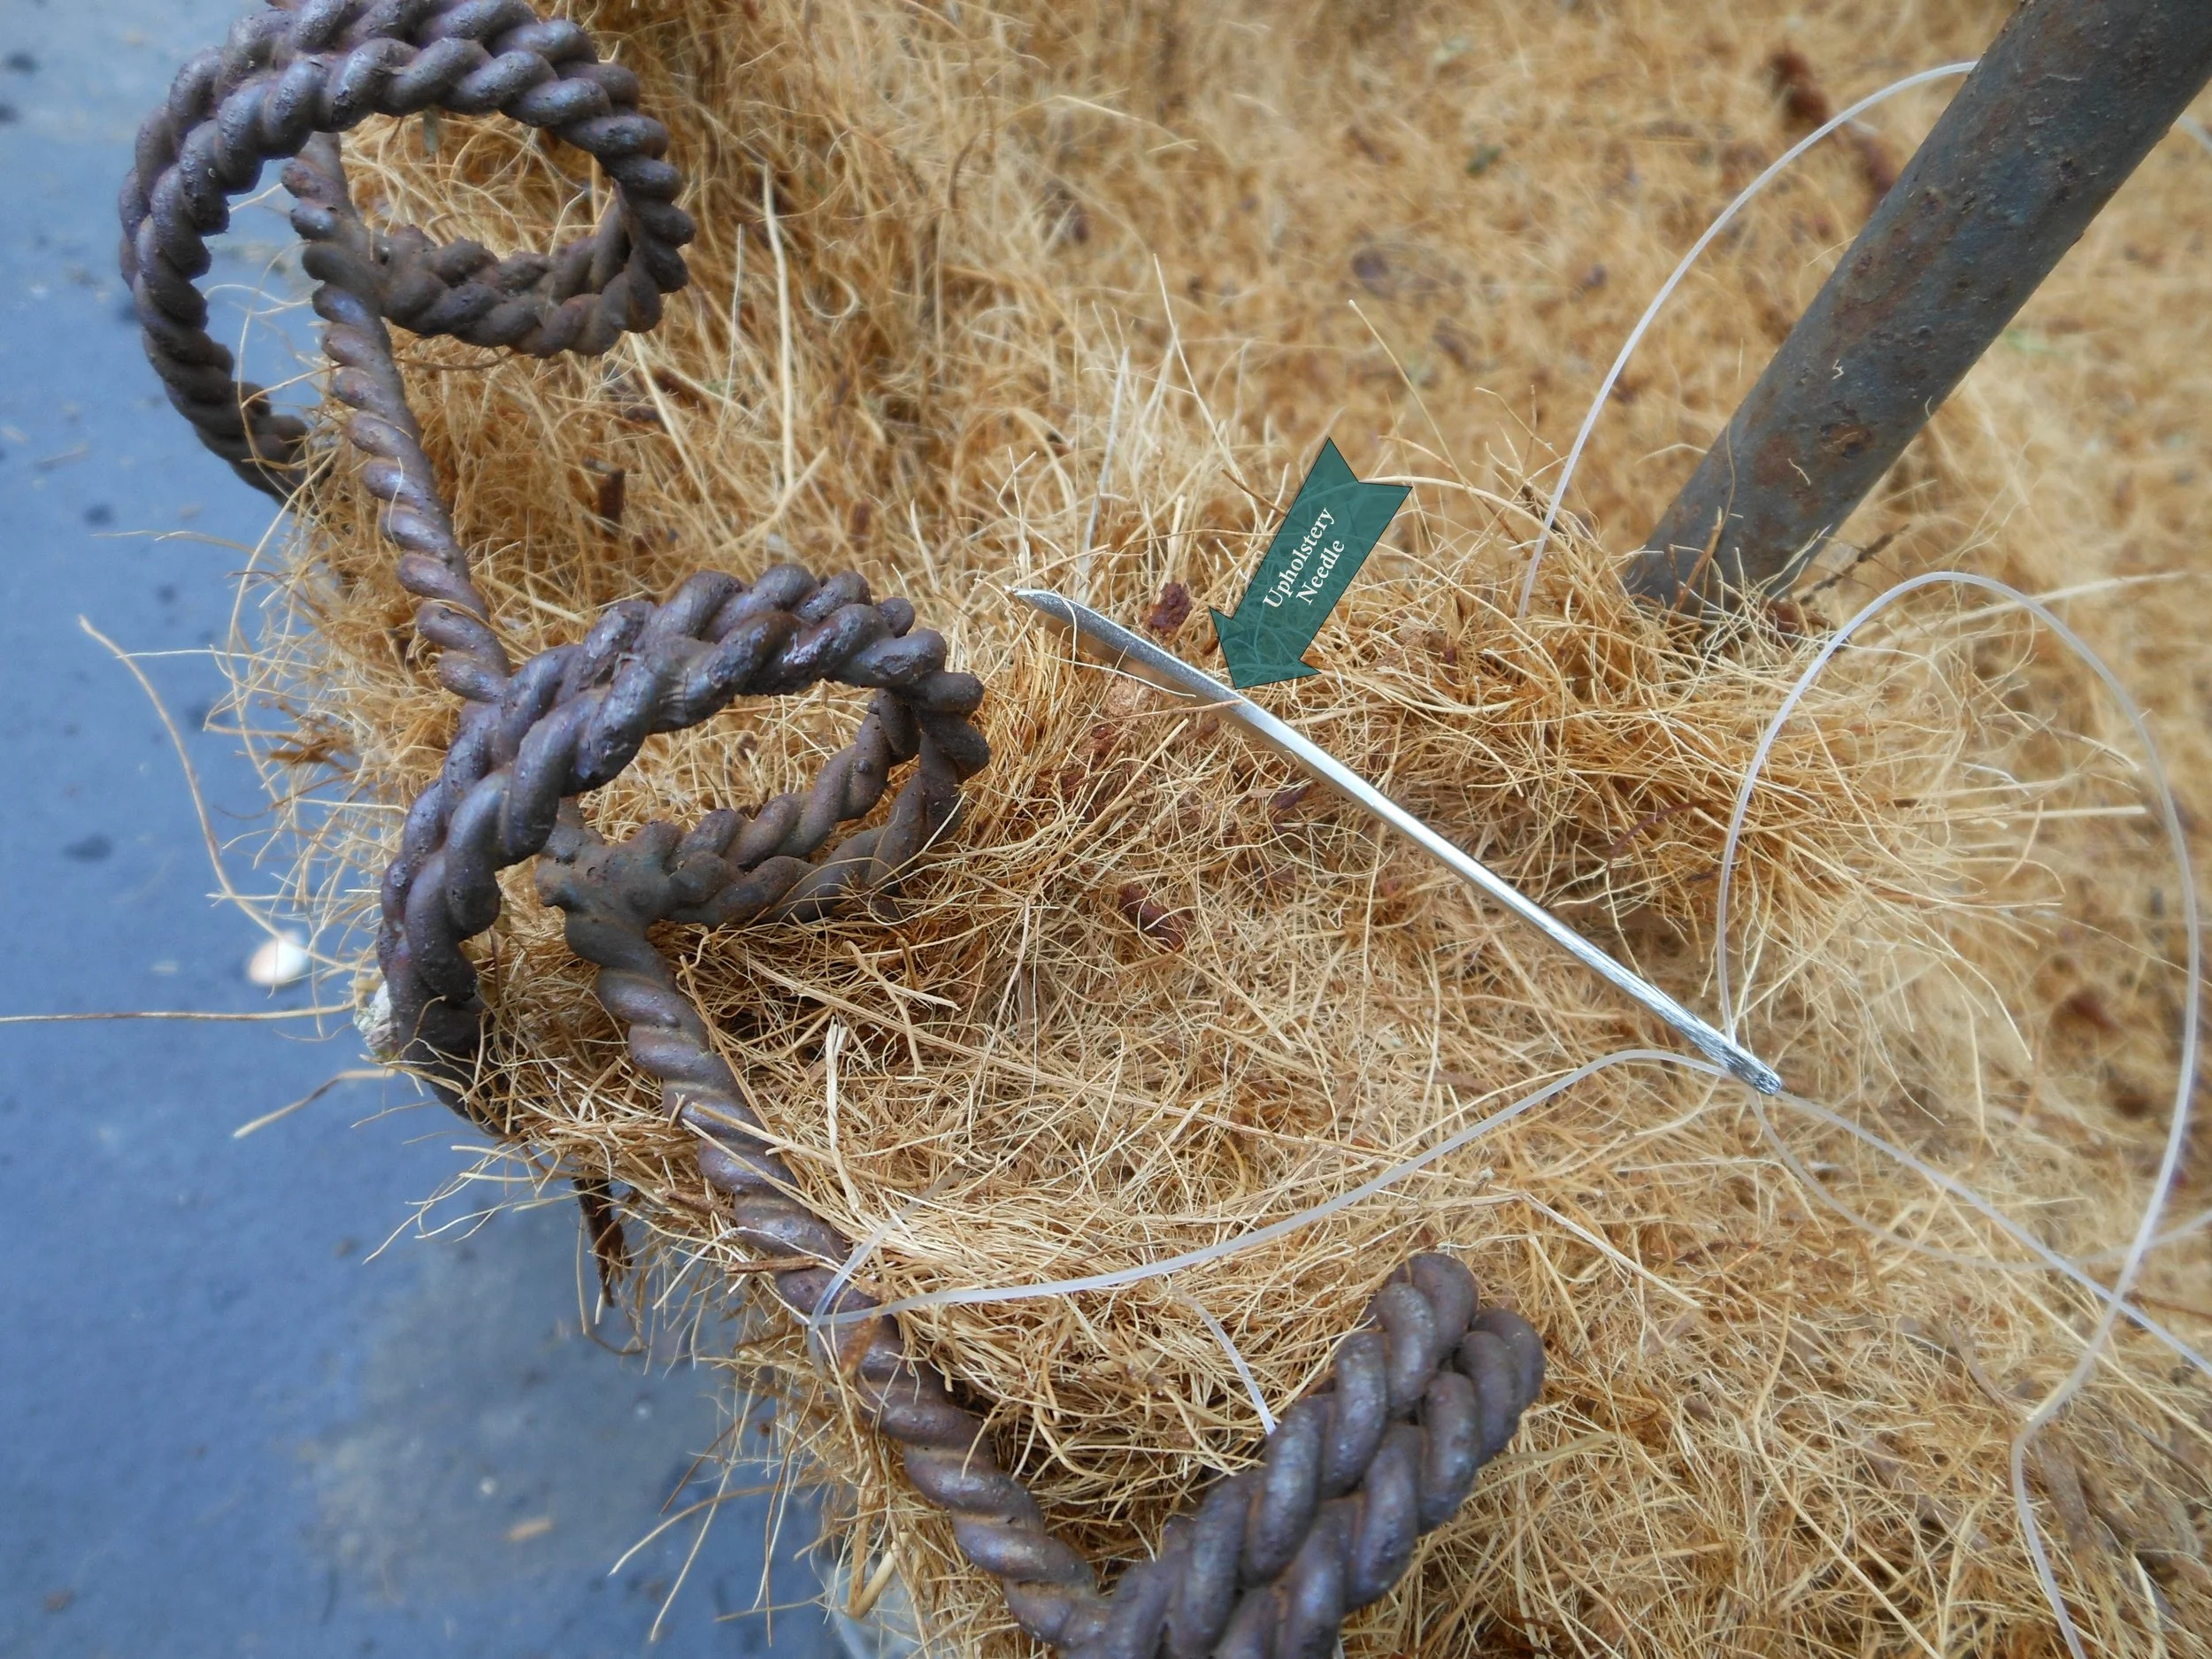
I used an upholstery needle (green arrow points to it) and clear monofilament fishing line to secure the cocoa liner to the metal frame.
Next, I used the same fabric to cut permeable landscape fabric to a slightly smaller size as each of the cocoa liners. I held the landscape fabric in place with a couple more monofilament stitches.

After this circle was cut, I trimmed it a bit to make it slightly smaller than the cocoa liner.
Finally, filled the baskets with soil and plants. The landscape fabric allowed water through but kept the potting soil from working its way into and through the cocoa mat. The fabric slowed water enough to ensure the potting soil was soaked through but not so long that roots were soggy.
This combination of steps took time, but the basket liners lasted five years before they needed replacing. I probably could have gotten through a sixth year if I had not accidentally cut through the landscape fabric when I was digging out spent plants.
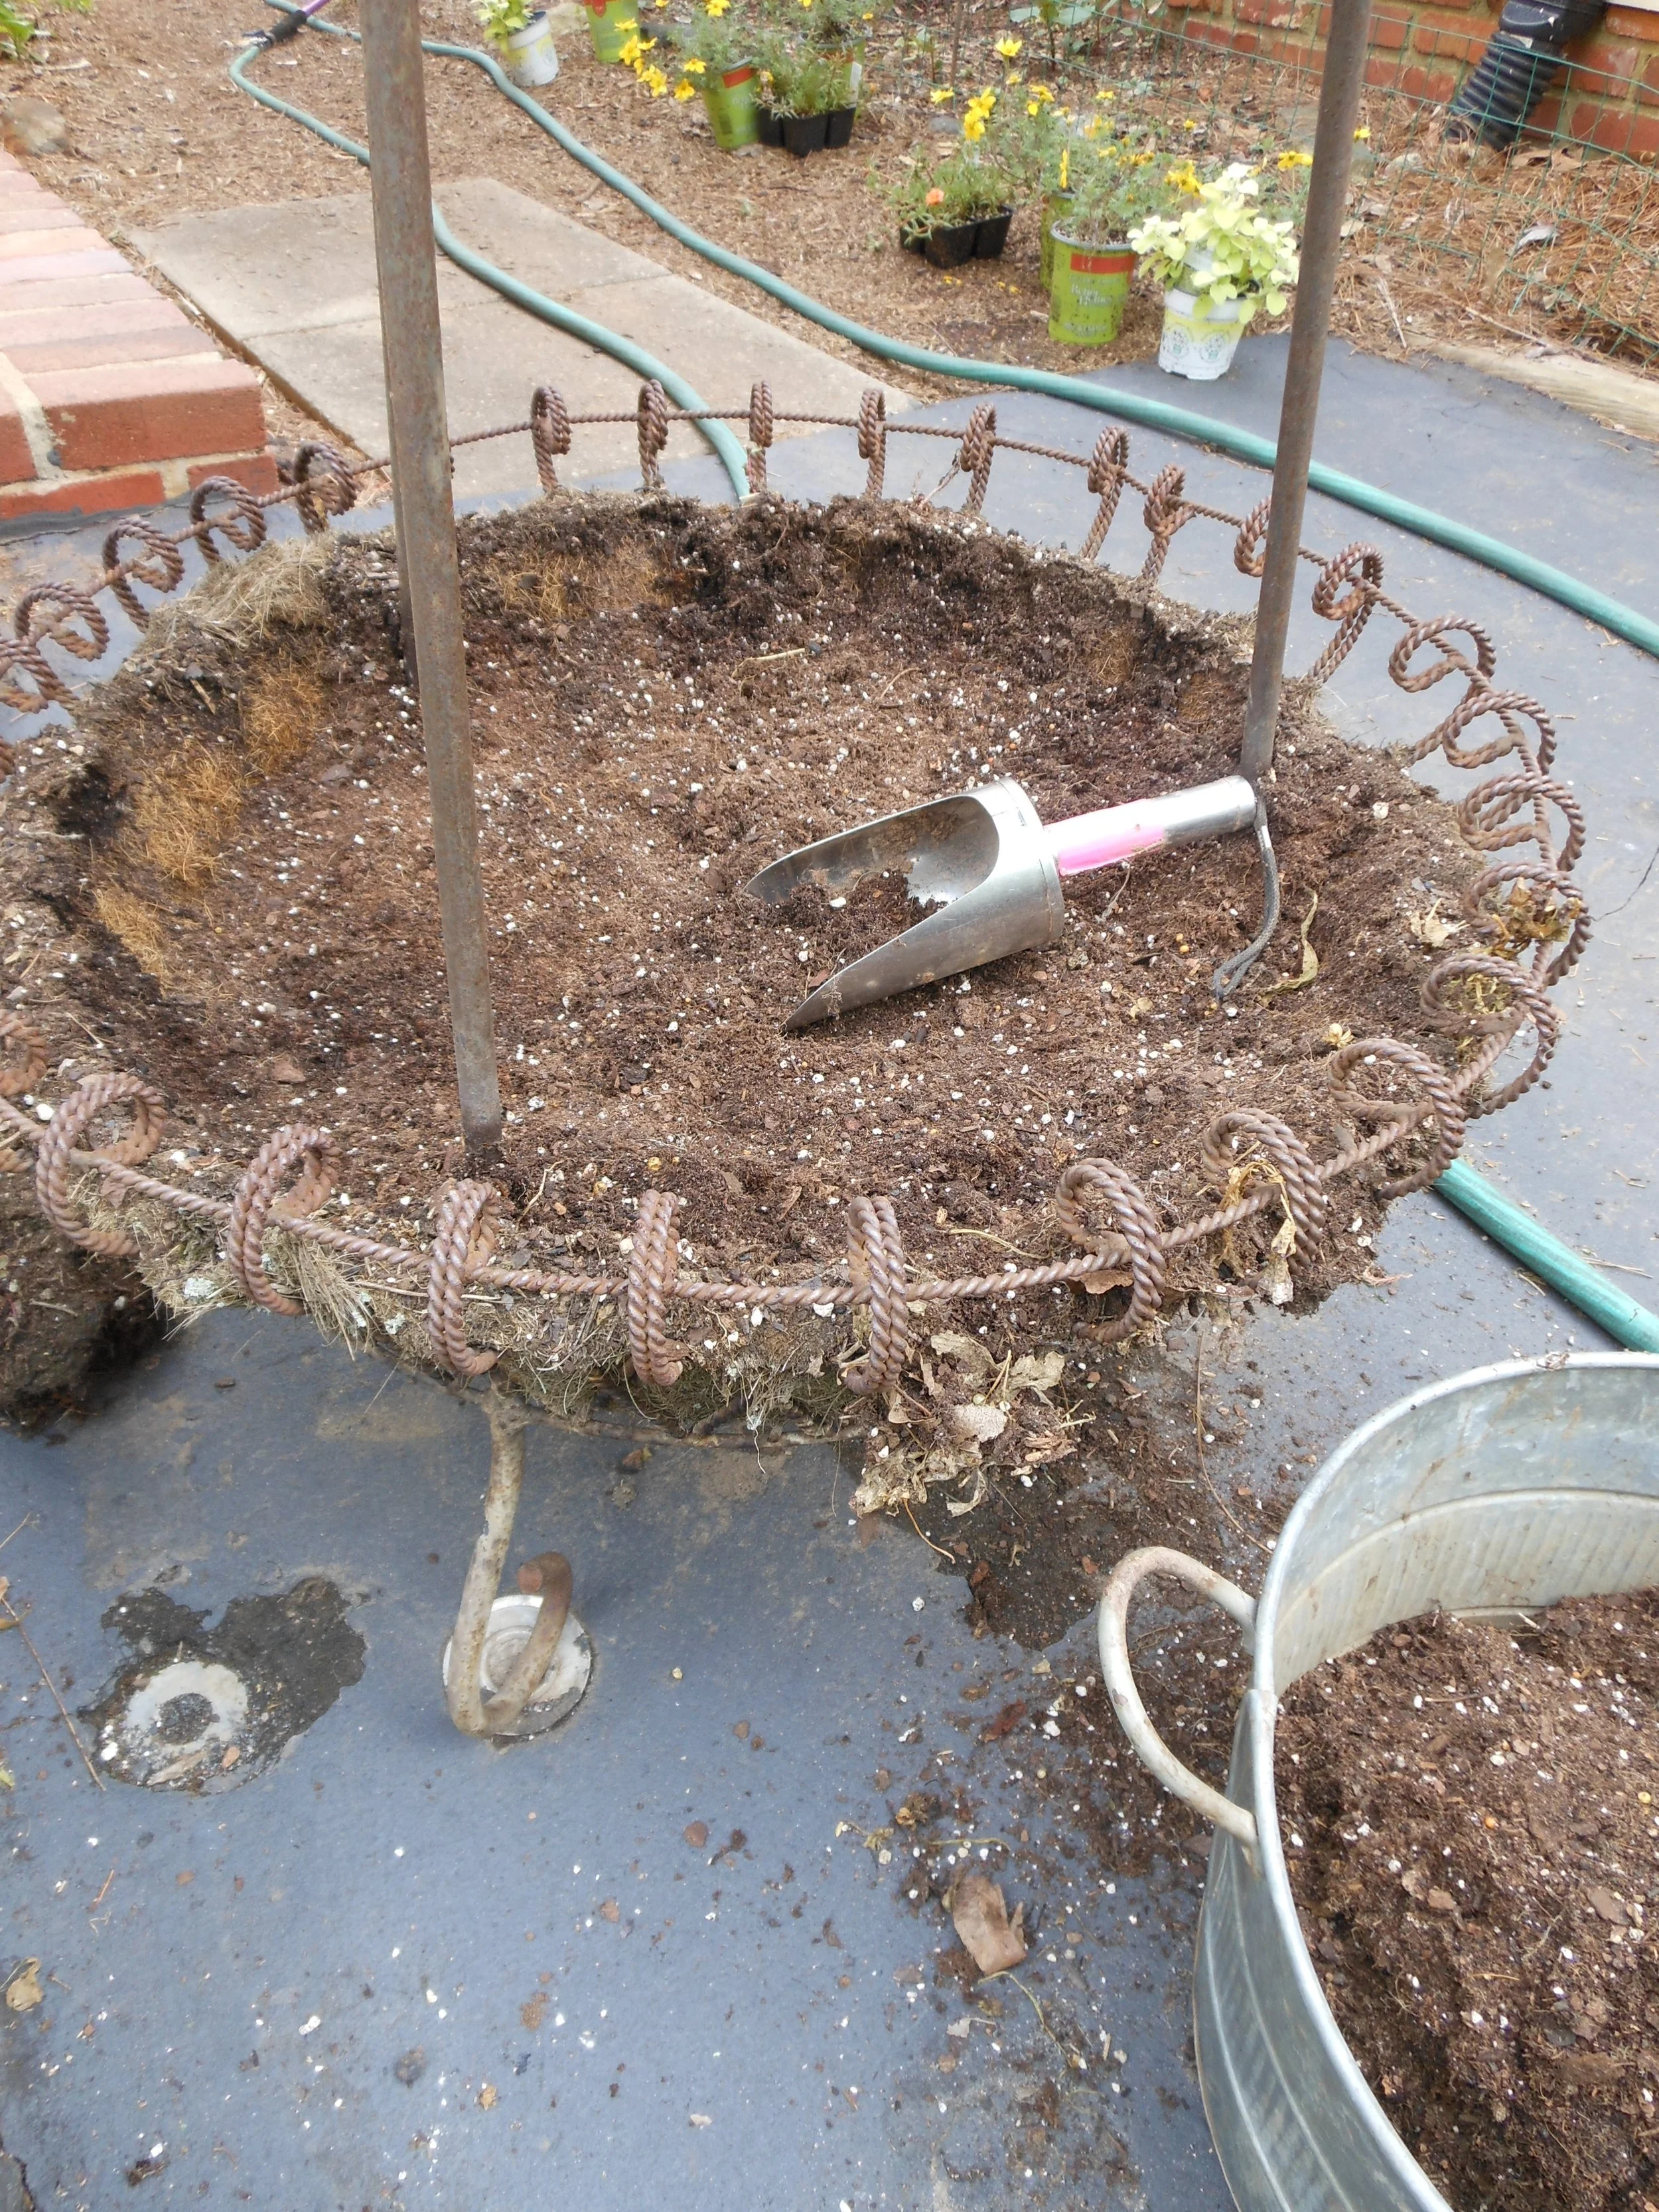
This is the fall cleanup after three years. Old plants have been pulled out. New potting soil will be poured in so that the baskets will be ready for spring planting. The hot-pink duct tape on the handle of the soil scoop helps me find it.
If you use standard cocoa liners for hanging baskets, this effort may be beyond what you are willing to do, but if you have oversized baskets, give it a try.